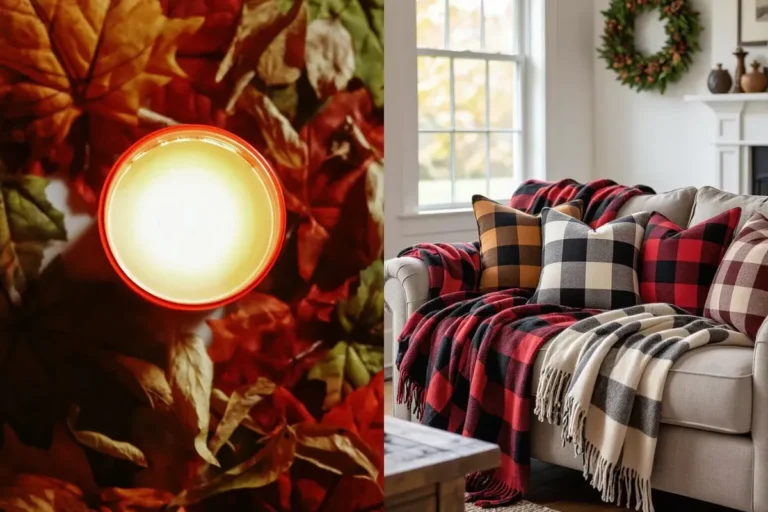
21 Creative Homemade Fall Decorations You’ll Love
There is something special about a home filled with pieces you made with your own hands. Store shelves are full of plastic pumpkins, but homemade fall decorations carry stories: the pinecones your kids collected, the old sweater you turned into a pumpkin, the oranges you dried on a quiet Sunday. This list gathers 21 simple crafts that use paper, fabric scraps, jars, twigs and bits you probably already own. Every idea is beginner friendly, kind to a tight budget and quick enough for a weekend afternoon. Pick one craft, put on some music, and let your home turn warm, personal and ready for autumn.
Paper Leaf Garland
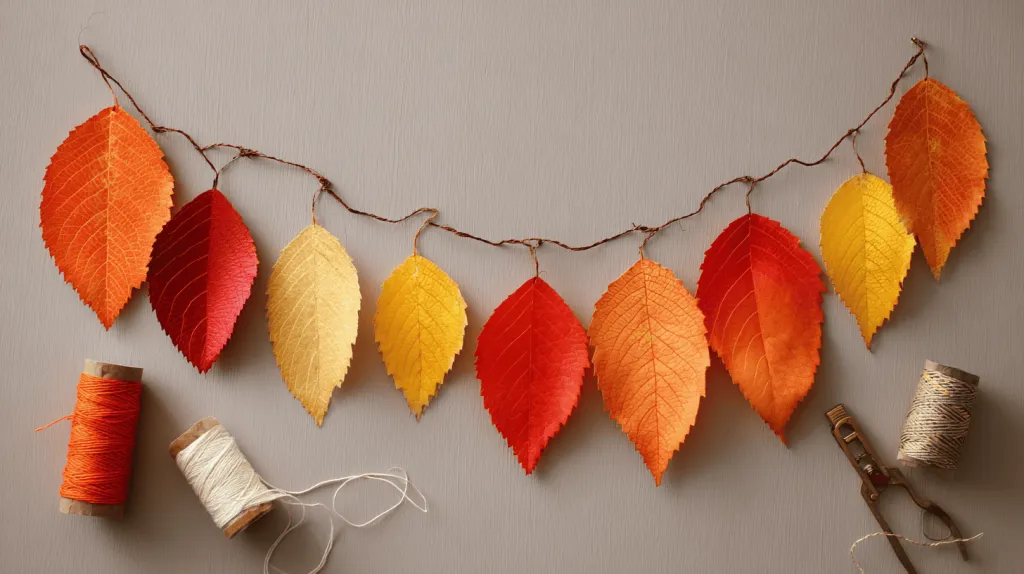
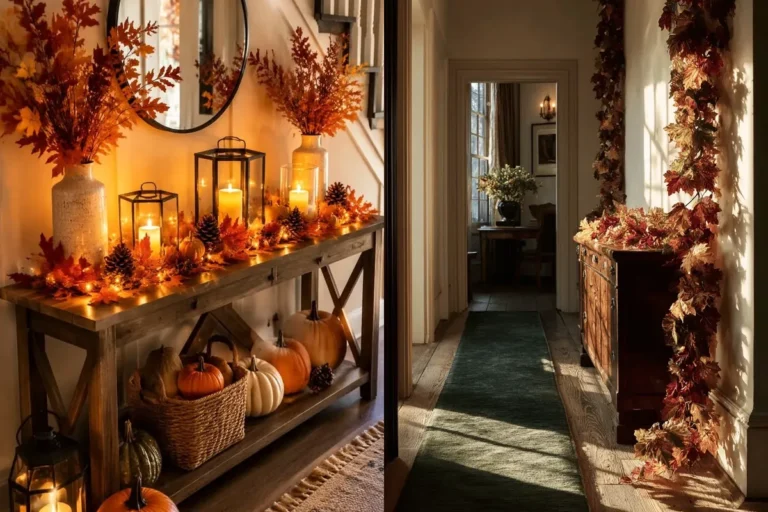
A mantel looks bare until a strand of paper leaves drifts across it. Cut leaf shapes from old book pages, brown paper bags or colored card stock, then fold each one down the middle for a soft, realistic crease. String the leaves on twine with mini clothespins, spacing them like real branches. In my experience, mixing two or three leaf shapes keeps the garland from looking flat. Hang it over a doorway, a mirror or the staircase rail, and the whole room picks up gentle autumn color for almost no cost.
Cinnamon Stick Candles
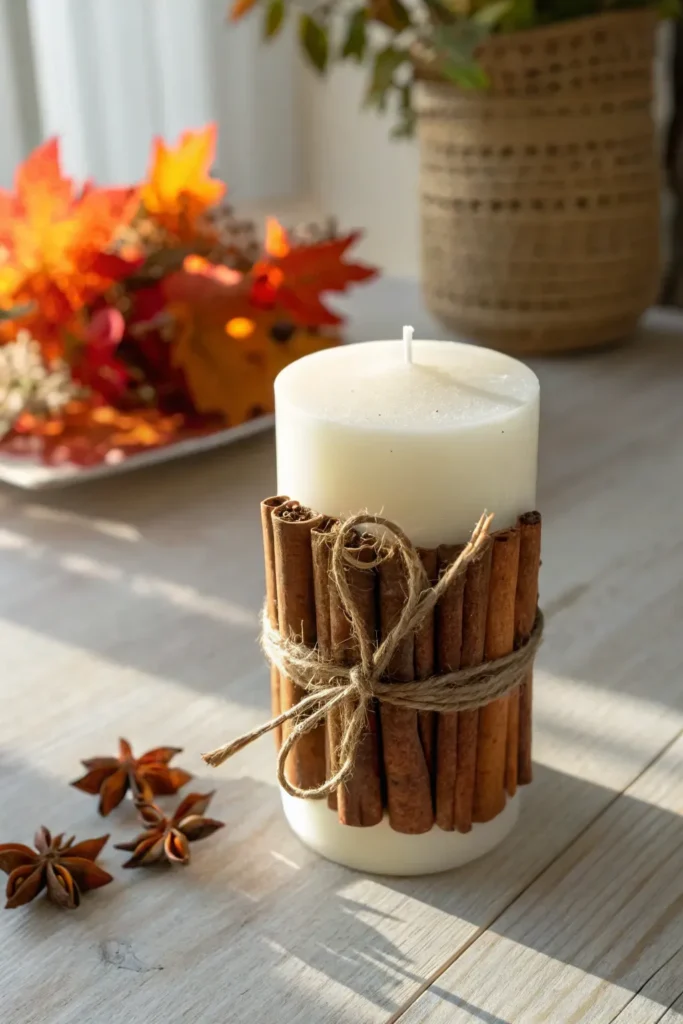
- Choose plain pillar candles or small glass votives in warm cream or white.
- Stand cinnamon sticks upright around the candle and hold them with a dot of hot glue.
- Tie raffia or twine in a small bow around the middle to hide the glue line.
- Add a tiny pinecone, star anise or dried leaf on the bow for a finished look.
- Group three candles of different heights on a tray for a mantel or table centerpiece.
Heat from the flame warms the cinnamon and fills the room with a gentle spice scent while the candles burn. Keep the sticks slightly below the wick line, never leave any candle unattended, and blow them out before bed. It is a five minute craft with an evening of payoff.
Dried Orange Garland

Quick Tip:
Dry orange slices at the lowest oven setting, about 200 degrees, for two to three hours, flipping every 30 minutes. They are ready when they feel light and make a soft papery sound.
Thread the cooled slices onto twine with a large needle, alternating them with bay leaves, cinnamon sticks or wooden beads. Hung across a window, the light shines through the fruit like stained glass. The garland keeps for weeks and can be composted when the season ends.
Painted Porch Pumpkins

Before: The porch steps held two plain orange pumpkins that blended into every other house on the street. They looked fine, but nothing about them felt personal or planned.
After: Three pumpkins painted in cream, sage and soft terracotta now sit in a neat row, each with hand painted dots or stripes. A small stack of hay and a wooden crate finish the scene.
Painting real pumpkins means no carving mess and no sharp tools around kids. Acrylic paint sticks well to dry skin, and a clear sealer helps the color last outdoors. I’ve noticed painted pumpkins often outlast carved ones by weeks, since the skin stays sealed.
Mason Jar Lanterns

- Tear orange, red and gold tissue paper into small pieces, about the size of postage stamps.
- Brush craft glue onto a clean mason jar and press the tissue pieces on, overlapping slightly.
- Cover the whole jar, let it dry for an hour, then brush one more thin glue coat over the top to seal it.
- Wrap twine around the rim twice and tie a bow, adding a leaf or acorn if you like.
- Drop in a battery tea light, never a real flame, and set the jar on a step, shelf or table.
Battery lights glow through the tissue and turn jars into warm lanterns that look far more expensive than they are. Line three along a windowsill or group them on the porch steps. Because there is no real flame, kids can carry them on evening walks.
More Info : 25 Brilliant Fall Decorating Ideas for Autumn Charm
Twig and Berry Wreath
Do:
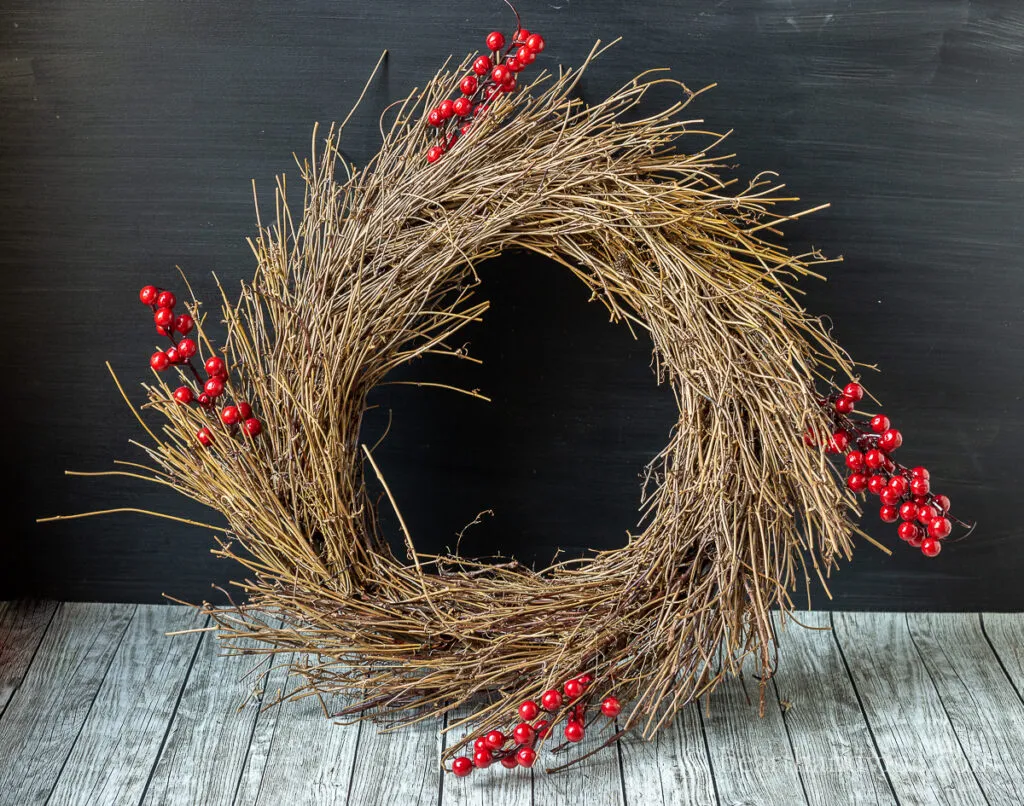
- Gather straight, flexible twigs after a windy day, when fresh ones cover the ground.
- Bend them slowly into a circle and bind the ring with floral wire every few inches.
- Tuck in berry sprigs, dried leaves and small pinecones with hot glue.
- Hang the wreath on a wide ribbon so it swings gently instead of scratching the door.
Don’t:
- Use dry, brittle twigs that snap the moment you bend them.
- Overload one side, or the wreath will tilt and look lopsided.
- Hang it where rain soaks it daily, since natural pieces soften and shed.
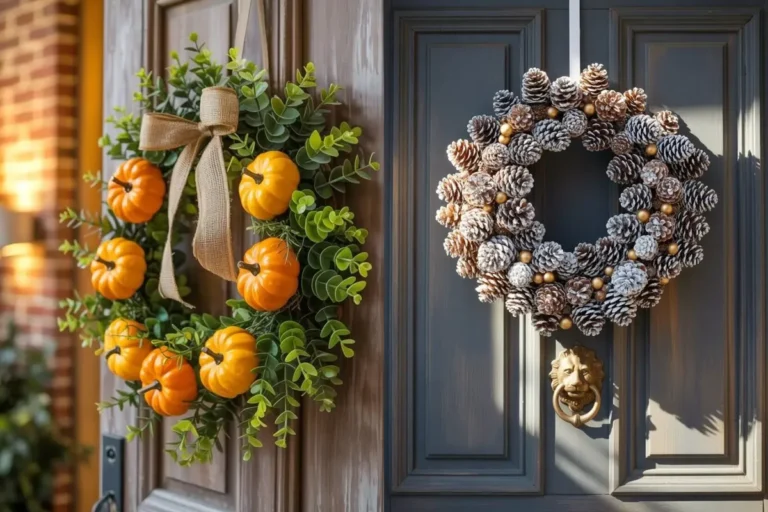
A wreath built from the yard costs almost nothing and matches your landscape like bought versions never do. Work on a table outdoors where falling bits do not matter. Rest the finished ring a day in the sun before it goes on the door.
Burlap Table Runner
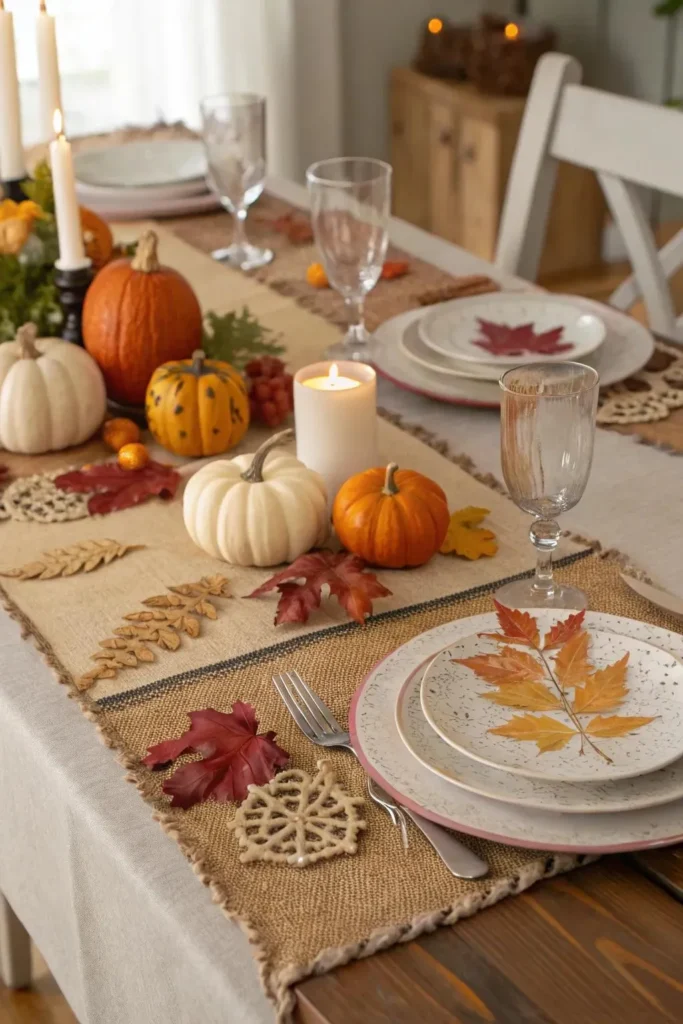
Cost: Low, one yard of burlap makes a full length runner
Time: About 30 minutes, plus drying time for paint
Skill Level: Beginner, no sewing needed
Best For: Dining tables, buffets and entry consoles
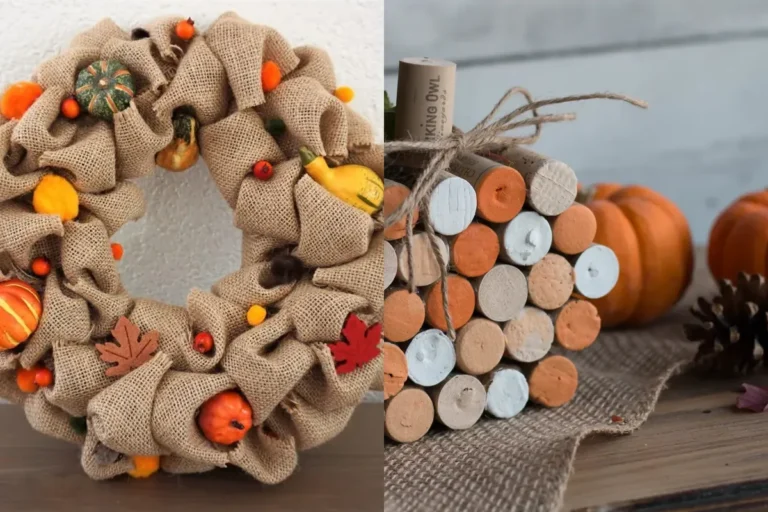
Cut the burlap to length, then pull a few threads from each end to make a short fringe. If you like, stencil a row of simple leaves down the center with acrylic paint. Burlap shrugs off crumbs and hot dishes, and its texture makes candles, pumpkins and plates look warmer by contrast.
Fabric Scrap Pumpkins

That pile of fabric scraps in the sewing basket is a pumpkin patch waiting to happen. Cut a wide circle of fabric, place a ball of stuffing or old socks in the center, and gather the edges up around a short stick stem. Tie the gathered top tightly with twine, then wrap the twine down and around the pumpkin to press in segments. Plaid flannel, linen and old curtain fabric all work, and no two pumpkins come out alike. A trio in different sizes fills an empty corner in minutes.
Leaf Print Wall Art

- Pick flat, freshly fallen leaves with strong veins, like maple or oak.
- Brush a thin coat of acrylic paint on the veined side of the leaf.
- Press the leaf firmly onto card stock or canvas, then lift it straight up.
- Frame the print in a thrifted frame, or clip several prints along a string.
Real leaves give each print a pattern no stamp can copy, and kids love seeing the veins appear on the paper. Press extra leaves between book pages for a day if they curl too much. A row of three prints tells the story of your street in autumn.
Acorn Garland Strand

Quick Tip:
Bake gathered acorns at 200 degrees for 30 minutes before crafting. This dries them fully and makes sure nothing is living inside the caps.
Glue the caps back on any acorns that lost them, then drill a tiny hole through each nut or hot glue the acorns along twine at even spaces. Wooden beads between the acorns keep the strand light and stop it from looking heavy. Drape it along a shelf edge or around a mirror for a woodsy touch.
Wood Slice Coasters
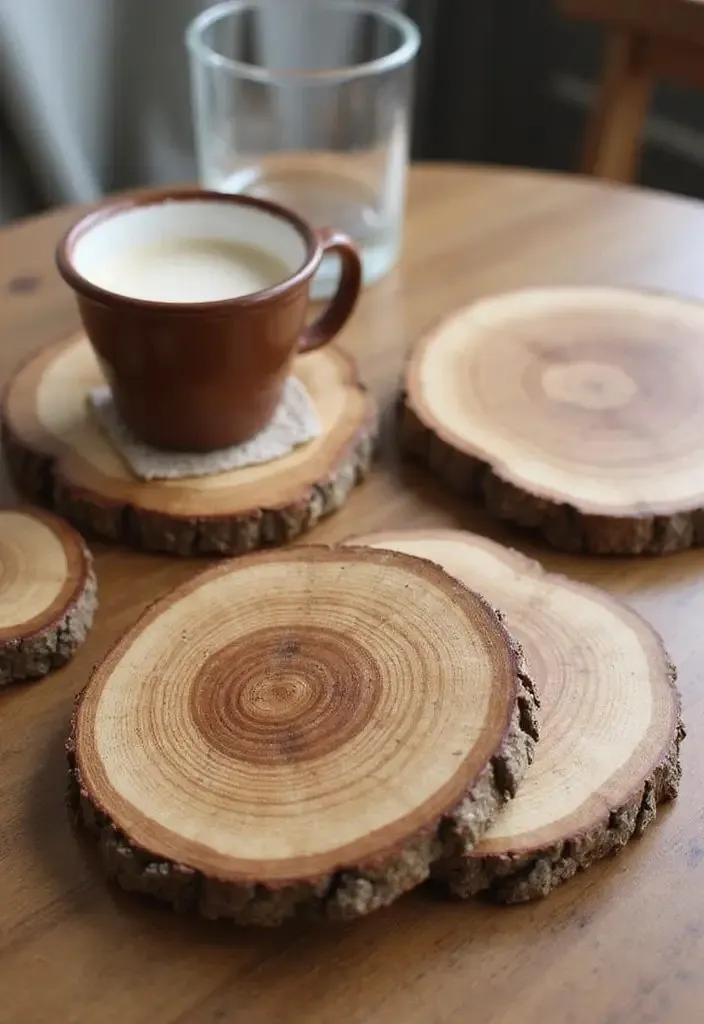
Before: Coffee cups and cold glasses left rings on the side table every single day. Store bought coasters never matched the room, and half of them were always missing.
After: A set of sanded wood slices now sits in a neat stack, each one sealed and ready. Guests reach for them without being asked, and the table finally stays clean.
Cut slices about half an inch thick from a fallen branch, sand both sides smooth, and brush on a clear water based sealer. The bark edge keeps the rustic look while the flat top holds cups steady. A stack of four tied with twine also makes an easy handmade gift.
Yarn Wrapped Pumpkins

- Cut yarn into arm length pieces, or work straight from the ball for less tangling.
- Glue the end of the yarn at the bottom of a foam pumpkin and start wrapping upward.
- Keep each row snug against the last so no foam peeks through.
- Tuck the final end under the last rows with a dot of glue at the top.
- Push a short cinnamon stick or a real pumpkin stem into the top as the stem.
Chunky yarn hides foam pumpkins completely and gives them a soft, knitted look that suits cozy corners. Cream, rust and mustard yarns read like a little harvest on a shelf. This is a calm, screen free craft for slow evenings, and mistakes unwind and wrap again.
More Content : 22 Inspiring Fall Home Decor 2026 Ideas to Try
Felt Leaf Wreath

Do:
- Cut leaf shapes from felt in three or four fall colors for depth.
- Pinch each leaf at the base and glue the pinch so it curls like a real leaf.
- Overlap the leaves around a foam or wire wreath form until no base shows.
- Add a few felt acorns or berries in a contrasting color.
Don’t:
- Use thin craft felt that flops, since wool blend felt holds its shape far better.
- Space the leaves evenly like a clock, because real wreaths look fuller in clusters.
- Skip the hanging loop at the back before the front is fully covered.
Felt never fades, frays or sheds, so this wreath returns year after year looking new. It is light enough for a suction hook and soft enough to store flat in a drawer. Kids can cut the simple leaf shapes while adults handle the glue.
Pinecone Owl Craft

Cost: Almost nothing, pinecones plus felt scraps
Time: About 20 minutes per owl
Skill Level: Easy, great for kids with supervision
Best For: Shelf decor, place settings and small gifts
Stand a pinecone upright, glue on two felt circles with button eyes, and add felt wings and a triangle beak. A row of owls on a windowsill watches over the room with real charm. Set one at each plate as a place marker, and guests will want to take theirs home.
Painted Wine Bottles

Empty wine bottles deserve a second life before the recycling bin. Soak off the labels, dry the glass well, and paint each bottle in a matte fall color like cream, olive or burnt orange. Two thin coats look smoother than one thick one, and a wrap of twine around the neck hides the paint line. Fill the bottles with dried wheat, pampas grass or bare branches and group them in threes on a mantel or sideboard. In my experience, matte paint is the secret here, since it makes cheap glass read like ceramic.
Mini Scarecrow Stakes

- Use a short wooden dowel or sturdy stick as the body and crossbar arms.
- Dress it with fabric scraps: a plaid shirt piece and denim for little overalls.
- Stuff a small burlap square for the head and draw a friendly stitched smile.
- Glue raffia under a tiny straw hat or a fabric cap for hair.
- Push the stake into a planter, flower pot or a pumpkin on the porch.
A palm sized scarecrow brings a smile to porch pots and indoor planters alike, and each one takes on its own personality from the scraps you choose. Make a set with different hats and shirts for a whole cheerful row. They store flat in an envelope when the season ends.
Leaf Bowl Centerpiece

Quick Tip:
Choose freshly fallen leaves that are still soft and bendy, not dry and crisp. Soft leaves stretch over the bowl shape without cracking, and they peel away cleanly once the glue dries.
Blow up a balloon or turn a bowl upside down, cover it with glue coated leaves in overlapping layers, and let it dry overnight. Pop the base and you have a feather light leaf bowl for pinecones, wrapped candy or a battery candle. It always earns questions from guests.
Sweater Sleeve Pumpkins

Before: A stretched out sweater sat in the donation bag, its sleeves worn thin and its color faded. It felt like clutter waiting to leave the house.
After: The same sweater is now three round pumpkins on the bookshelf, each cinched with twine and topped with a cinnamon stick stem. Nobody guesses they started as sleeves.
Cut the sleeve into short tubes, stuff each one, gather the top closed and wrap twine around them for pumpkin ridges. The knit texture does half the decorating work for you. Old sweaters from the thrift store work just as well if your own closet has none to spare.
Book Page Banner

- Tear or cut pages from a damaged old book into equal rectangles or pennant triangles.
- Fold the top edge of each piece over a length of twine and glue or staple it in place.
- Stamp, stencil or hand letter one letter per page to spell a word like grateful or harvest.
- Leave blank pages between words so the banner reads clearly from across the room.
- Hang it across a mantel, bookshelf or hallway wall with small hooks or tape.
Aged paper brings a soft vintage tone that new craft paper cannot match, and the banner costs almost nothing to make. Keep the letters large and dark so they read from the couch. When the season ends, the banner folds flat into a drawer.
Corn Husk Wreath

Do:
- Soak dried corn husks in warm water for 15 minutes so they bend without tearing.
- Layer the husks around a straw or foam wreath form, pinning as you go.
- Point the husk tips outward for a full, sunburst shape.
- Finish with a burlap bow or a cluster of dried wheat at the bottom.
Don’t:
- Work with brittle, bone dry husks, since they crack at every fold.
- Store the wreath in a damp place, or the husks can spot and soften.
- Hang it in direct rain, because natural husks are not weatherproof.
Corn husks dry to a pale gold that glows against a dark front door, and the wreath feels harvest honest and elegant. Farm stands often give husks away free after sweet corn season. One afternoon of pinning gives you a wreath that looks ordered from a country shop.
Pumpkin Seed Art

Cost: Almost nothing, seeds saved from carving pumpkins
Time: About 1 hour, plus drying time for paint
Skill Level: Easy, patient beginners and kids
Best For: Framed art, cards and table scatter
Wash and dry the seeds from carving pumpkins, then paint them in batches of orange, gold and green. Glue them petal by petal into flowers, leaves or a full pumpkin shape on card stock. Framed behind glass, seed art looks surprisingly detailed, and not one seed went to waste.
Conclusion
Fall feels warmer when your hands helped make it. Whether you strung a paper garland, painted a pumpkin or wrapped yarn around a foam ball, each small project adds a layer of comfort that no store bag can copy. These homemade fall decorations prove that a cozy home grows from simple supplies, a free afternoon and a little patience. Start with the craft that made you smile, finish it today, and save this list on Pinterest so the rest wait for your next free weekend. Share it with a friend who loves a good craft day, too.