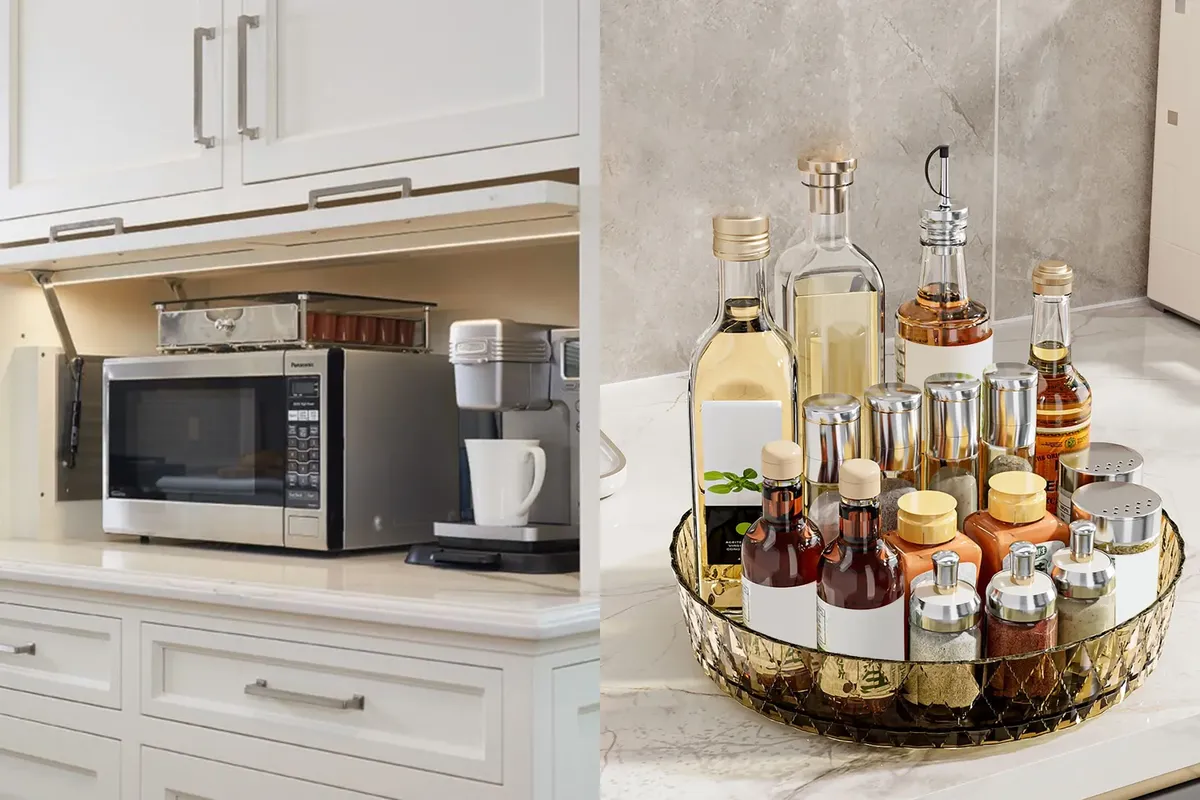
Kitchen Counter Clutter Solutions for a Tidy Space
A crowded counter steals your cooking space before you even pick up a knife. Piled mail, stray chargers and homeless appliances turn prep into a shuffle, but the right kitchen counter clutter solutions change that fast. This guide shares 30 countertop focused ideas that clear the surface and keep it clear, from appliance garages and vertical storage to small daily habits that stop mess from settling again. Every idea suits real homes and real budgets, and most take under an hour to set up. Pick the two or three that match your worst clutter spots, and your counters will feel bigger by tonight.
Quick Answer
Clear counters come from giving every item one planned home, not from owning less. Group daily items on trays, move knives, spices and towels onto walls and rails, park appliances in a garage or on a cart, and catch paper and pocket clutter in one tray at the entry end. A two minute nightly reset keeps it that way.
Appliance Garage Hideaway
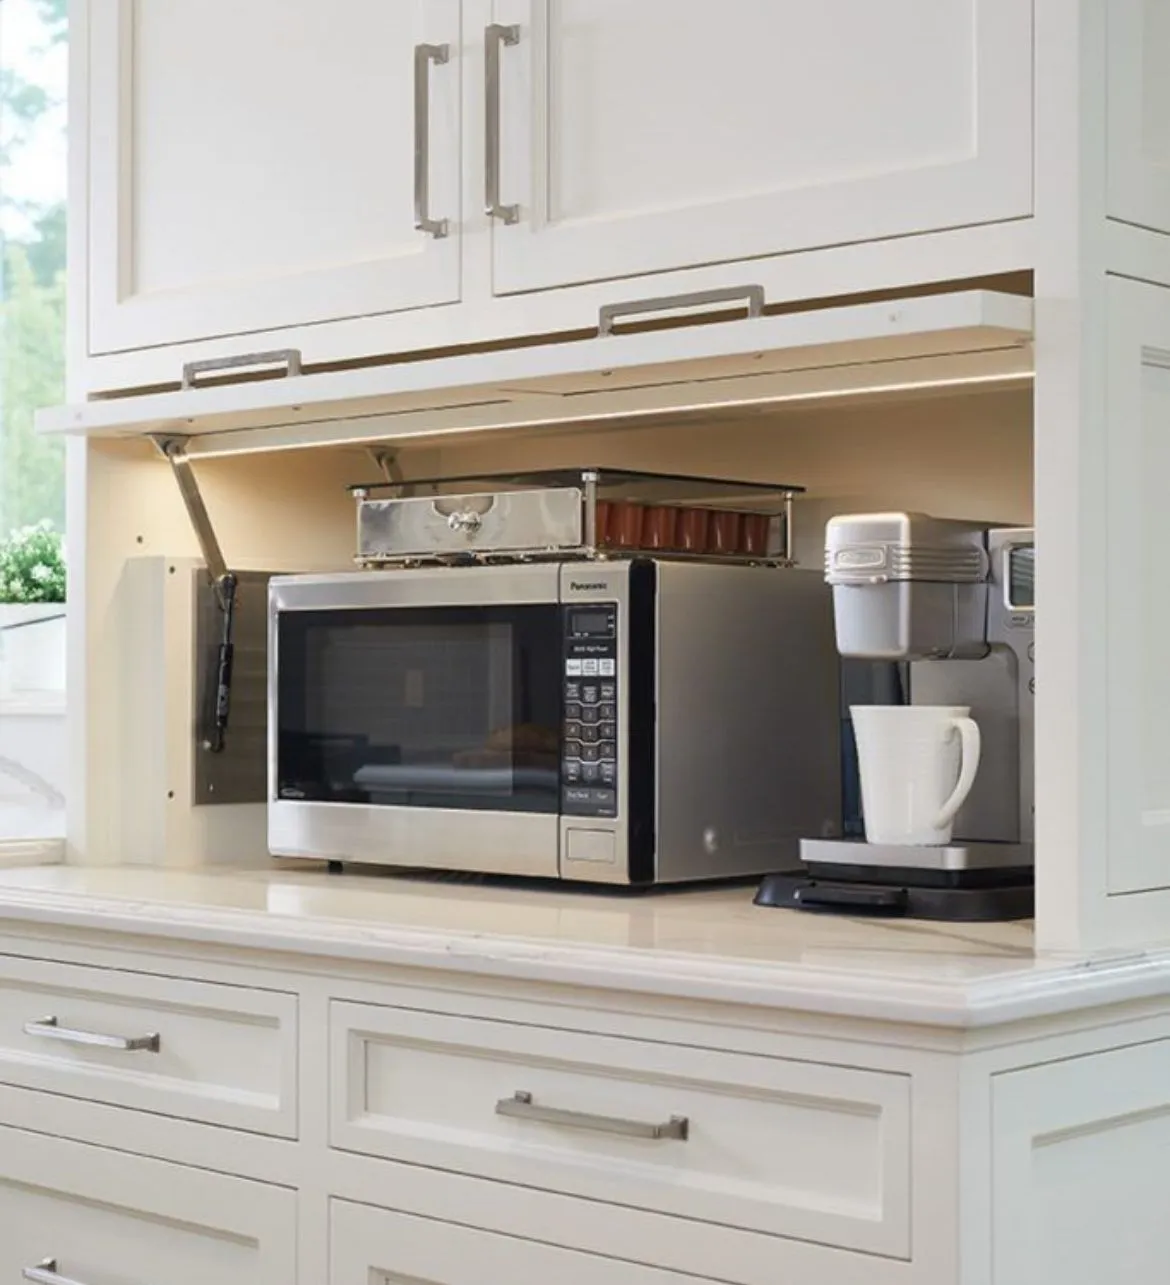
Image Credit: Pinterest (https://i.pinimg.com/originals/9f/19/5a/9f195ab0d638f8dbb2e171e7a934faab.jpg)
An appliance garage gives the toaster, blender and coffee maker a shared home behind one lift up or roll down door, right where you use them, so the counter reads clean at a glance while everything stays plugged in and ready.
Measure your tallest appliance before choosing a door style, and leave a little breathing room at the back for cords. Corner garages suit L shaped kitchens well. Once the door closes, the whole worktop feels calmer instantly.
Tiered Corner Shelf

Image Credit: Etsy (https://www.etsy.com/listing/4493986833/3-tier-corner-shelf-organizer-rustic)
- Pick a two or three tier shelf that fits your corner depth; measure before buying.
- Place daily items on the lowest tier, weekly items higher, decor at the top.
- Leave the counter in front of the shelf completely bare for prep.
- Choose wood, bamboo or metal matching your cabinets so the shelf looks built in.
- Wipe tiers weekly, because open shelves show crumbs and dust fast.
A tiered corner shelf turns the dead triangle where clutter camps into ordered storage, with a clear home for every jar and bottle. The counter in front stays free, and the corner finally earns its keep.
Magnetic Knife Strip
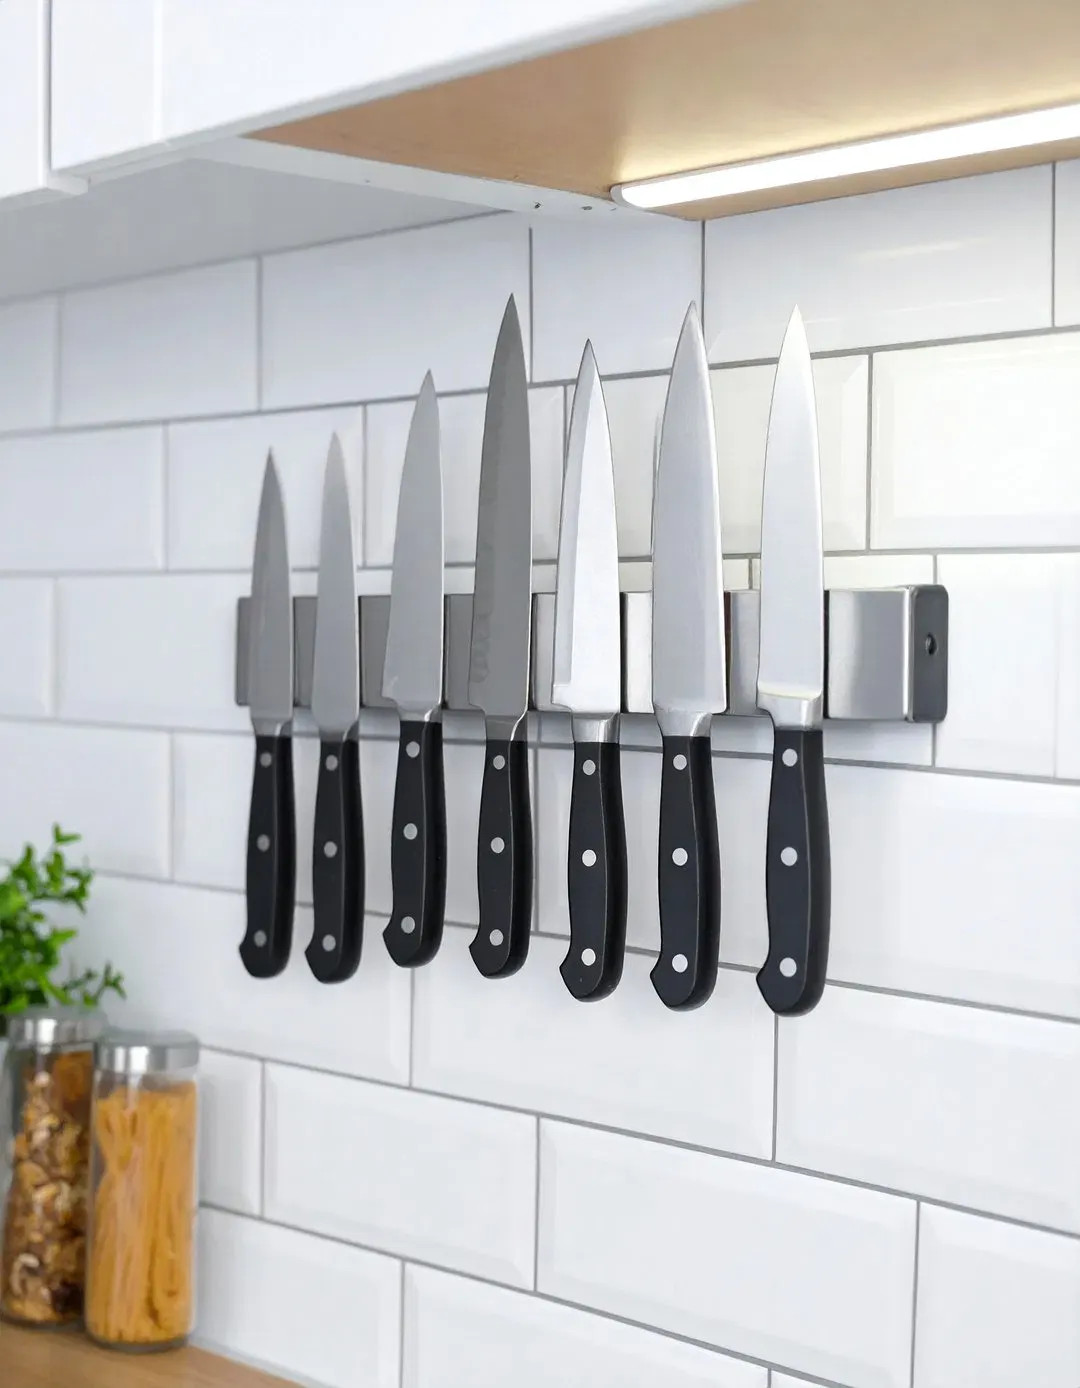
Image Credit: We Love Home Blog (https://www.welovehomeblog.com/small-kitchen-storage-ideas/)
Quick Tip:
Mount the strip at eye level on the wall beside your main prep zone, never above the stove, and leave a hand width of space below it so handles clear the counter edge safely.
A magnetic knife strip keeps every knife visible, dry and one grab away while cooking, freeing the counter space a bulky block would swallow. Your prep stretch opens up, and cleanup gets simpler because nothing bulky sits beside the sink waiting to be washed around.
Wall Mounted Spice Rack

Image Credit: MyGift (https://www.mygift.com/products/set-of-4-12-inch-black-chicken-wire-wall-mounted-spice-rack-kitchen-storage-shelves)
Before: Spice jars colonized the counter beside the stove, a dusty crowd of lids you had to move every time you wiped the surface or reached for the oil.
After: The jars hang in two neat rows on the wall, labels facing out, while the counter beside the stove holds only the cooking oil and a small utensil crock.
A wall mounted spice rack moves jars onto the wall, keeping flavors close to the cooking zone without giving up a single inch of worktop. Alphabetical order sounds fussy, but it ends the daily hunt for cumin. A quick weekly wipe keeps the jars from turning sticky in cooking steam.
Mail Sorting Tray Station
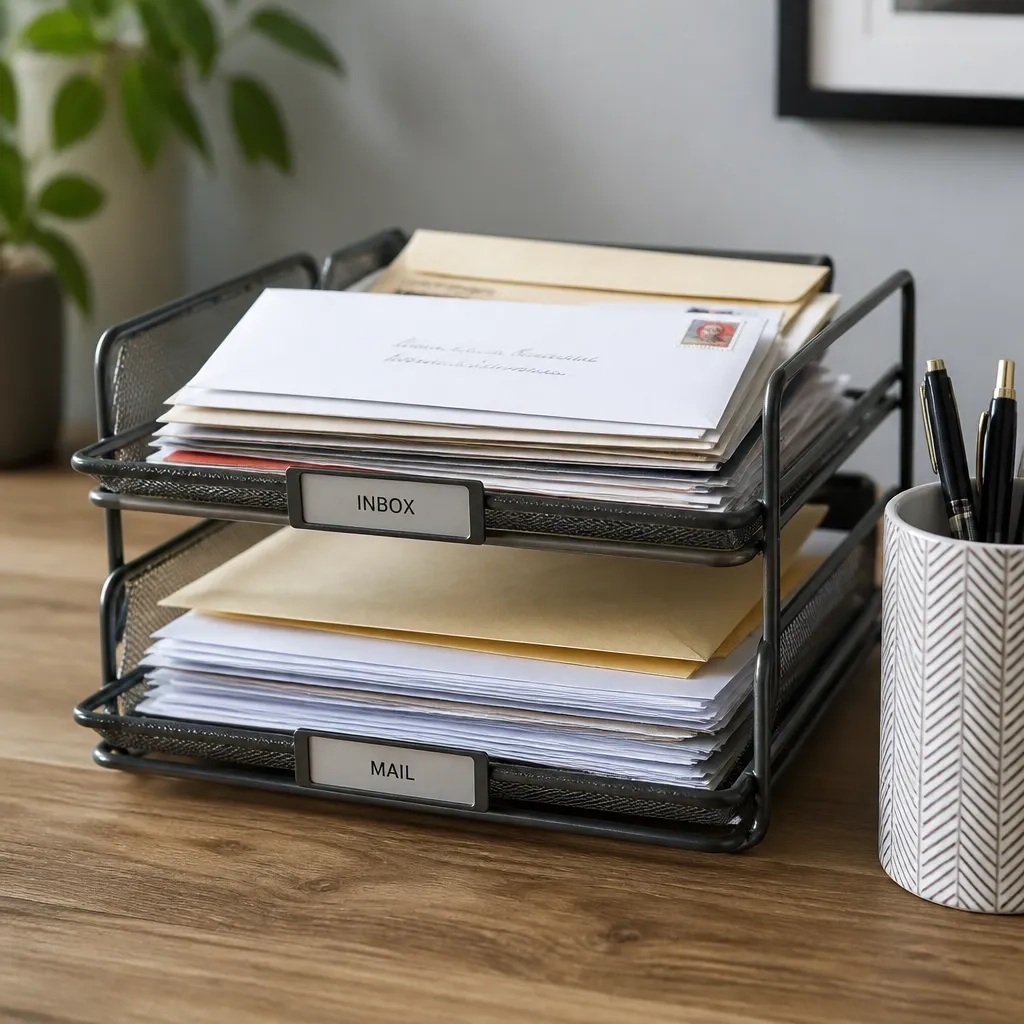
Image Credit: The Shelf Helper (https://theshelfhelper.com/the-landing-zone-a-triage-system-for-your-incoming-papers/)
- Choose one shallow tray or small tiered sorter sized for envelopes and magazines.
- Set it at the counter end nearest the door, so paper lands there by habit.
- Sort mail over the tray as you walk in, recycling junk straight into a nearby bin.
- Give bills and school papers the top slot, and clear it every Sunday evening.
- Anything staying over a week moves to a folder, drawer or the recycling.
A mail sorting tray at the entry end of the counter gives paper one assigned parking spot, catching the whole flow in a single square foot. The rest of the surface stays clear for cooking, which is the job it was built for.
More Info : Narrow Kitchen Storage Solutions for More Room
Utensil Crock By Stove
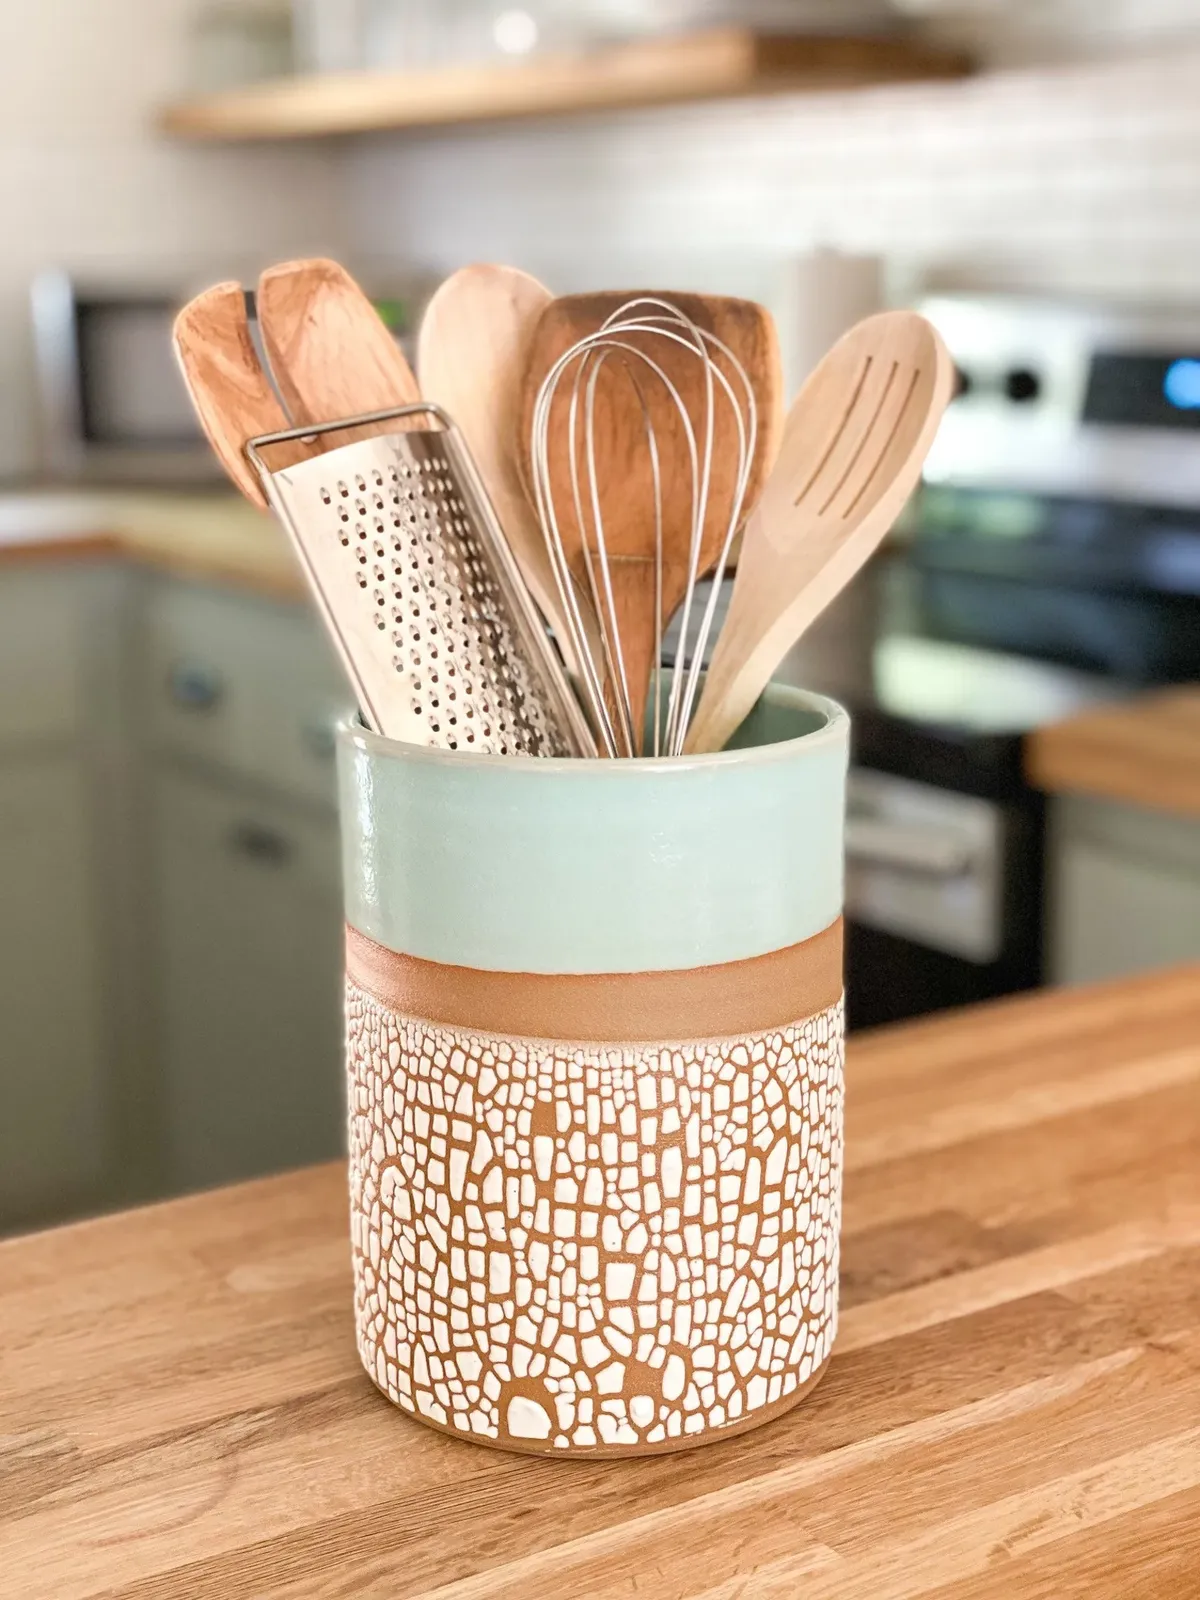
Image Credit: Etsy (https://i.etsystatic.com/6409470/r/il/af77e9/3949265469/il_1588xN.3949265469_nhgr.jpg)
Do:
- Keep one crock beside the stove with only daily tools, like spatulas and spoons.
- Pick a heavy crock that never tips when you grab a tool in a hurry.
- Wash it weekly, since stove side spots collect grease fast.
Don’t:
- Stuff every gadget you own in until handles tangle and tools hide.
- Place it where it blocks an outlet or crowds the front burners.
- Keep broken or duplicate tools just because there is room left.
One sturdy crock beside the stove holds the daily tools upright and visible, while rarely used gadgets live in a drawer or donation box. Cooking flows better when the five tools you love stand ready instead of overflowing onto the counter.
Over Sink Dish Rack
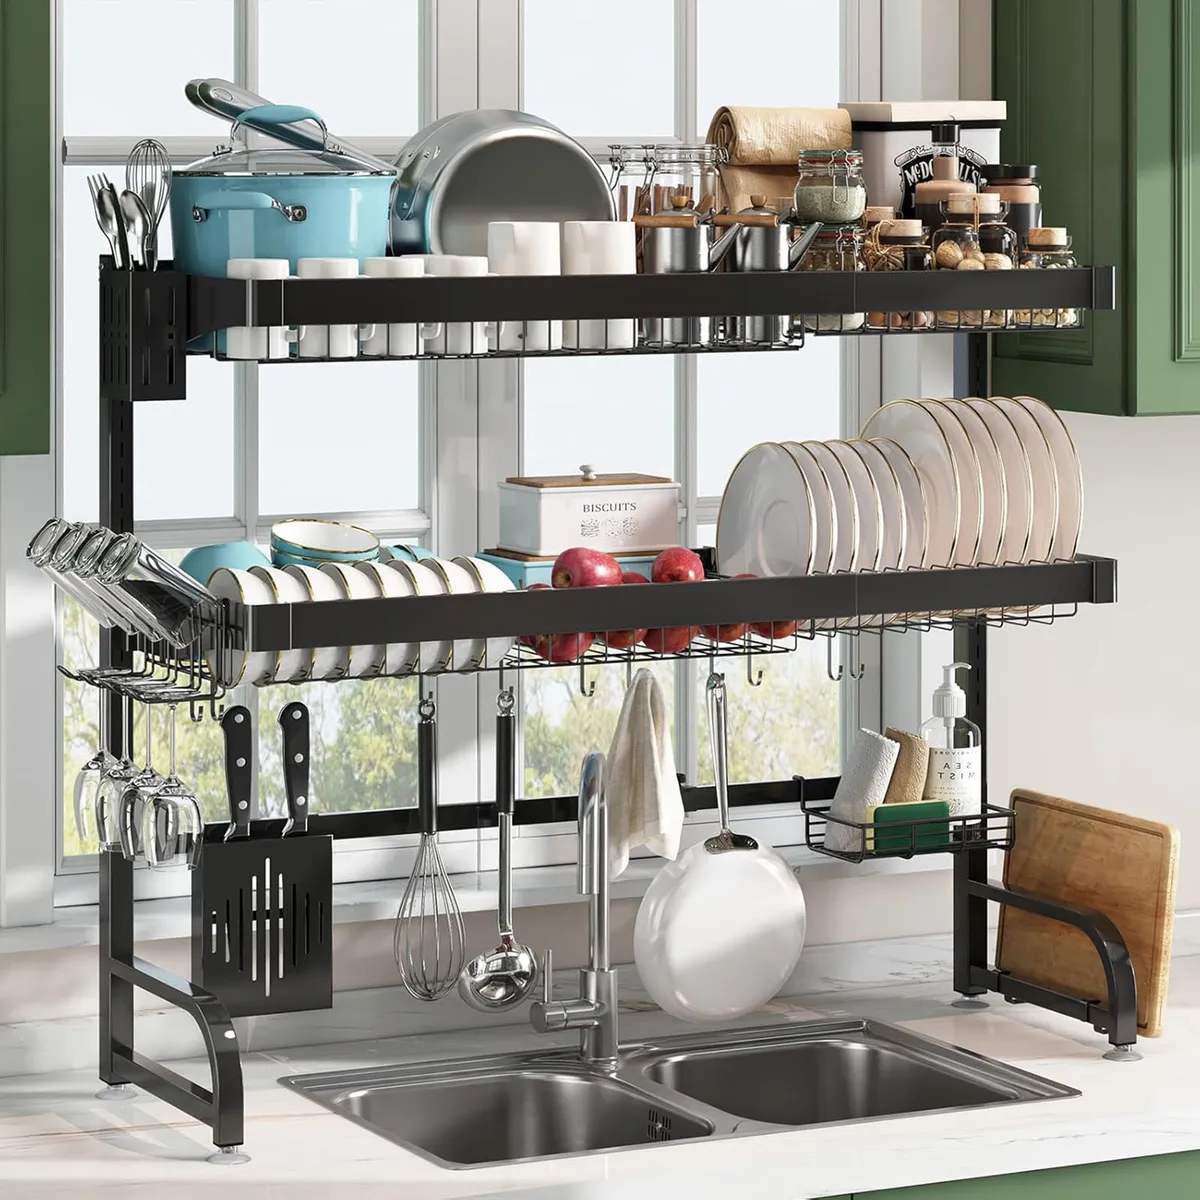
Image Credit: CRAOB (https://craob.com/product/over-the-sink-dish-drainer-drying-rack/)
Cost: Low to medium, most racks cost less than a takeout dinner for two
Time: About 10 minutes to assemble and set across the sink
Skill Level: Beginner, no tools or drilling needed
Best For: Small kitchens where the drying mat eats half the counter
An over sink dish rack moves the whole drying job over the basin, where drips fall straight into the sink instead of claiming prime counter for hours. The counter beside the tap stays open for washing up supplies or a chopping board, and the kitchen looks tidy even mid cleanup.
Bread Box Counter Corner

Image Credit: Etsy (https://www.etsy.com/listing/4518462488/corner-bread-box-for-kitchen-counter)
A bread box gathers loaves, bagels and tortilla packs into one closed container with a door that hides the crinkly bags. Park it in a corner and it anchors that end of the counter instead of letting bags wander.
Size the box for your household’s real bread habits, not your wishes; a standard box holds about two loaves plus a pack of bagels. A roll top door saves clearance in tight kitchens, while a drop down door doubles as a small cutting surface. Add a small board inside and crumbs stay contained, ready for one quick shake over the bin.
Coffee Station Tray
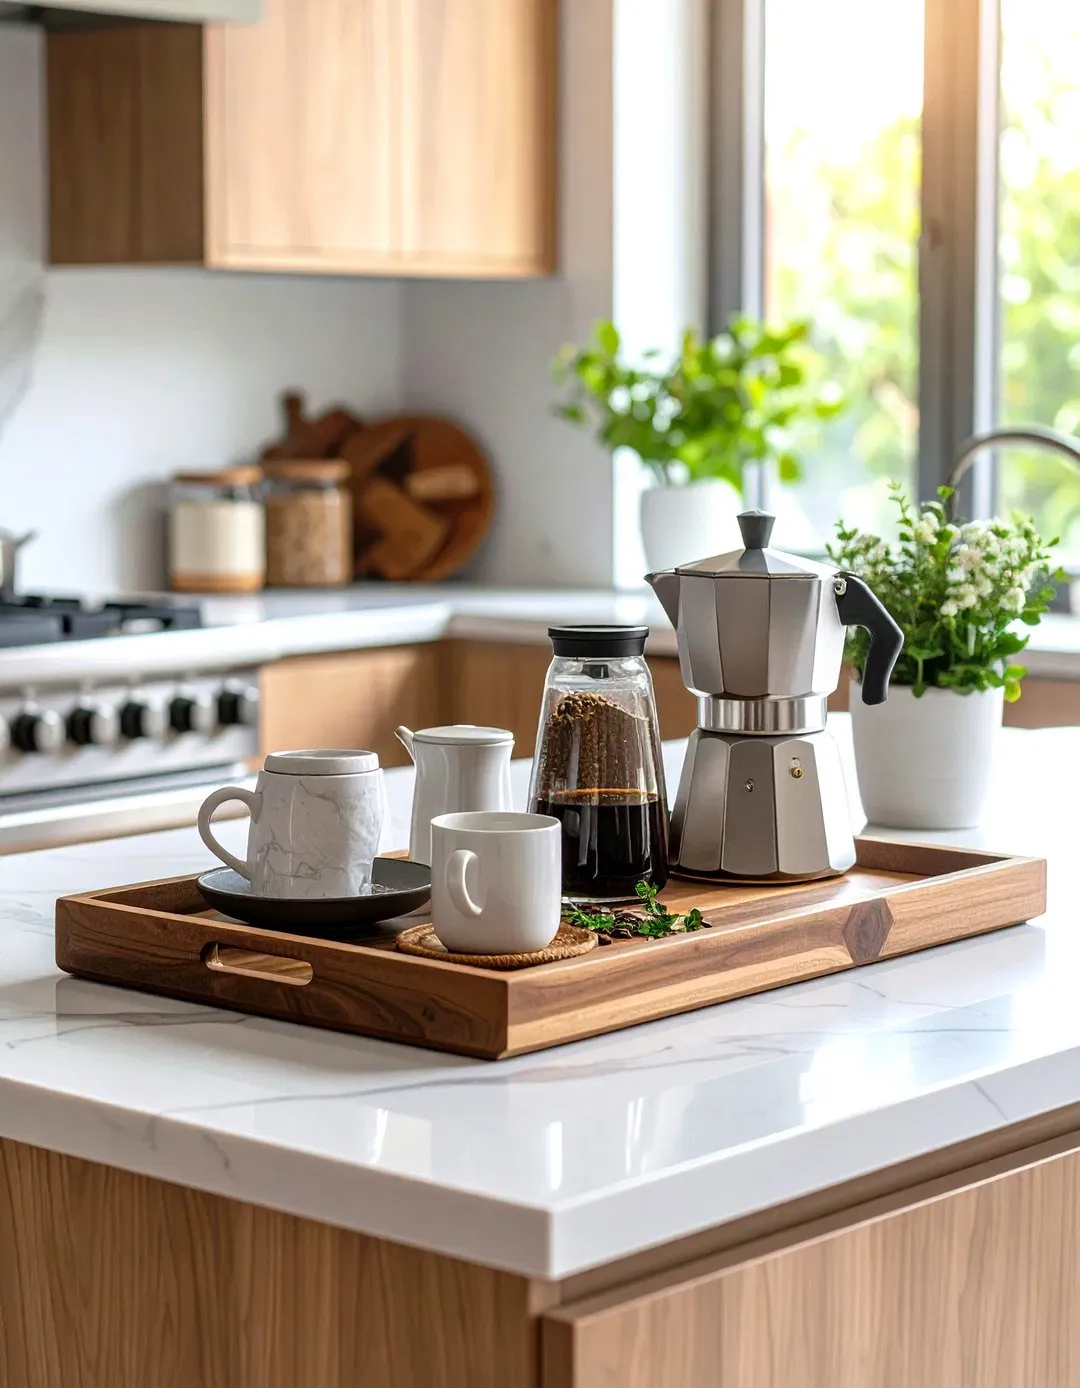
Image Credit: We Love Home Blog (https://www.welovehomeblog.com/kitchen-coffee-bar-ideas/)
- Set one tray under the coffee maker to define the station and catch drips.
- Corral mugs, filters, sugar and pods on the tray or a tiered stand beside it.
- Keep only this week’s coffee supplies out; store backup bags in a cabinet.
- Wipe the tray every few days, because coffee dust and sugar grains wander fast.
- Leave elbow room in front so making coffee never means moving things.
Gathering the coffee maker, mugs and supplies onto one tray turns a setup scattered across three spots into a single tidy station. In my experience, guests also help themselves faster when the coffee zone reads as one clear spot.
Two Tier Fruit Stand
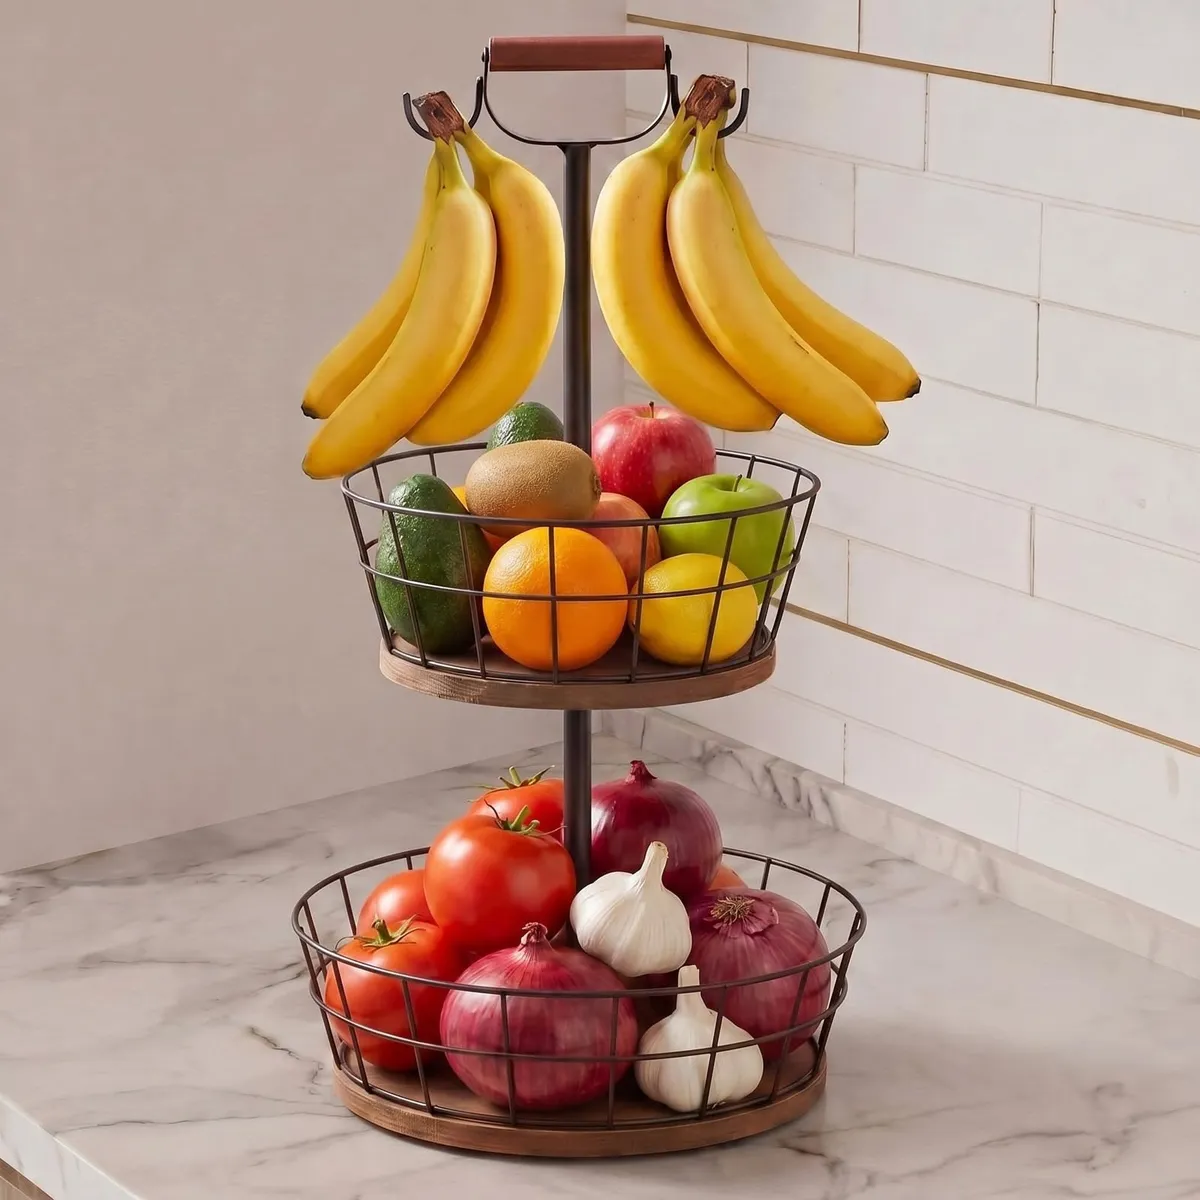
Image Credit: Pinterest (https://www.pinterest.com/ideas/fruit-stand-countertop/955405939353/)
Quick Tip:
Line each tier with a small cloth or paper liner so fruit skins do not mark the stand, and keep bananas on the top tier where their ripening gas drifts away from other fruit.
A two tier fruit stand stacks the same amount of fruit in half the footprint, with air moving between the layers. Apples and citrus sit at grab height for snacks, and the counter around the stand stays open for real work. Turn the stand a quarter turn every few days so the fruit ripens evenly on all sides.
Cutting Board File Stand

Image Credit: Kitchen Curates (https://kitchencurates.com/kitchen-counter-organization-ideas/)
Before: Boards leaned against the backsplash in a sliding stack, and pulling out the middle one sent the rest clattering onto the counter every single time.
After: The boards stand upright in a slim file style rack beside the sink, each one visible and easy to lift out with one hand.
A countertop file rack gives wide, awkward cutting boards a slim vertical home that takes less space than one board lying flat. Keep it near the sink so washed boards slot straight back in while they finish drying.
Lazy Susan Turntable
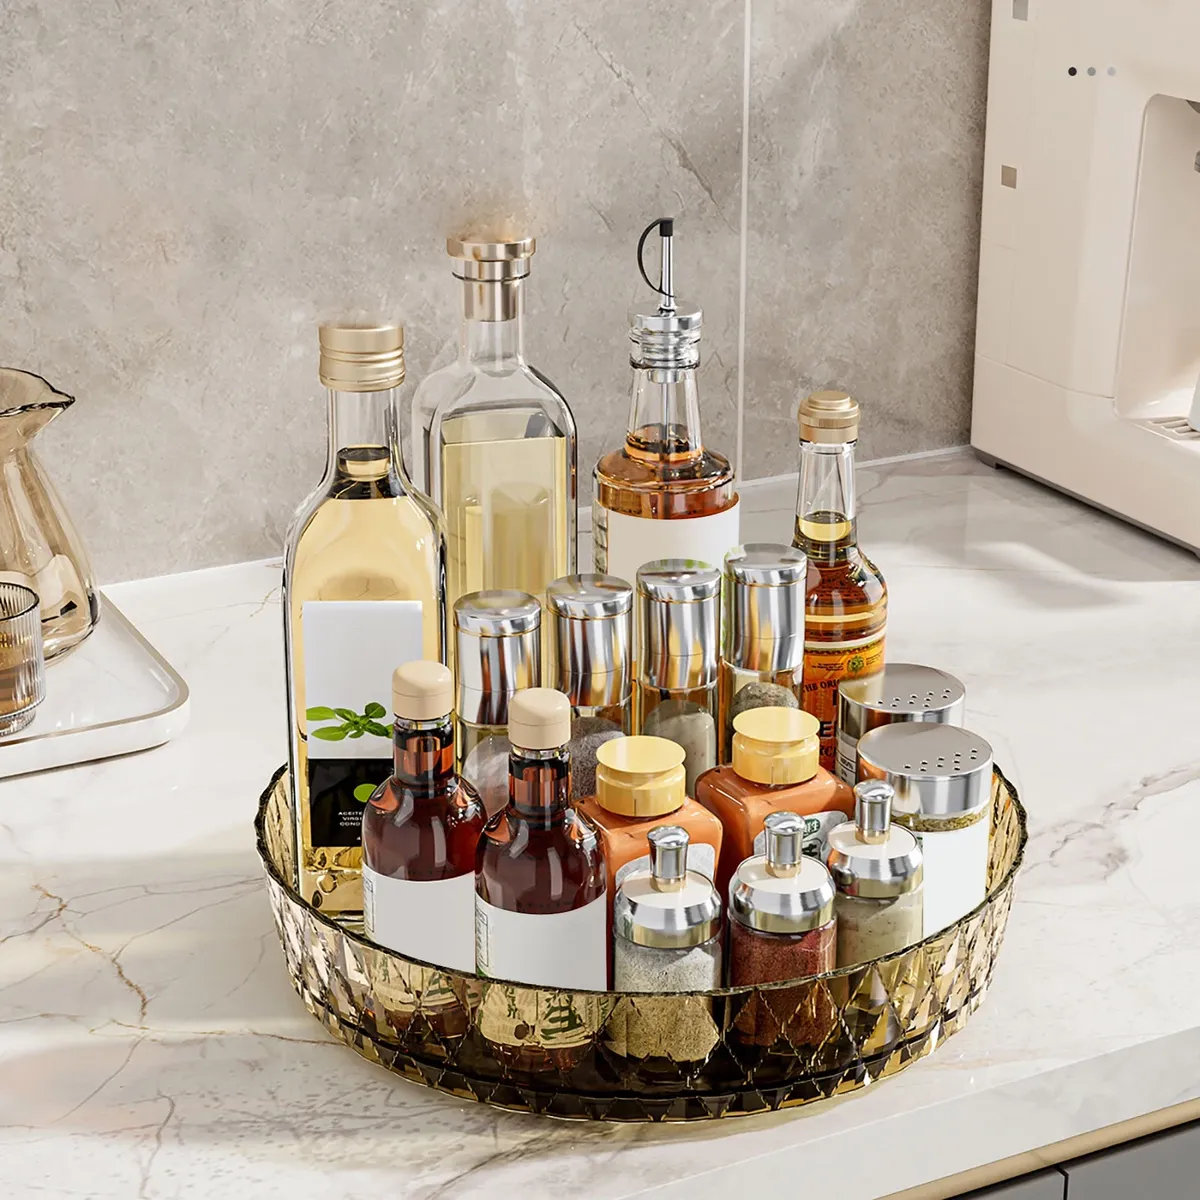
Image Credit: Walmart (https://www.walmart.com/ip/Lazy-Susan-Organizer-Turntable-Clear-9-Inch-Rotating-Tray-Cabinet-Table-Top-Round-Non-Skid-Refrigerator-Susan-Kitchen-Storage-Pantry-Countertop-Bathr/19278871380)
- Measure your counter spot and pick a turntable an inch narrower.
- Load it with daily bottles and jars, tallest items in the center.
- Set a rule that only items used this week may live on the turntable.
- Spin and wipe under it weekly, because drips collect beneath the base.
- Move overflow jars to a cabinet when the turntable feels crowded.
A lazy Susan turntable brings the back row of jars to the front with one spin, so nothing hides in deep corners until it expires or gets bought twice. The footprint stays small, and the counter looks ordered because every bottle shares one defined circle.
More Content : 25 Smart Kitchen Organization Ideas That Save Space
Stackable Shelf Riser
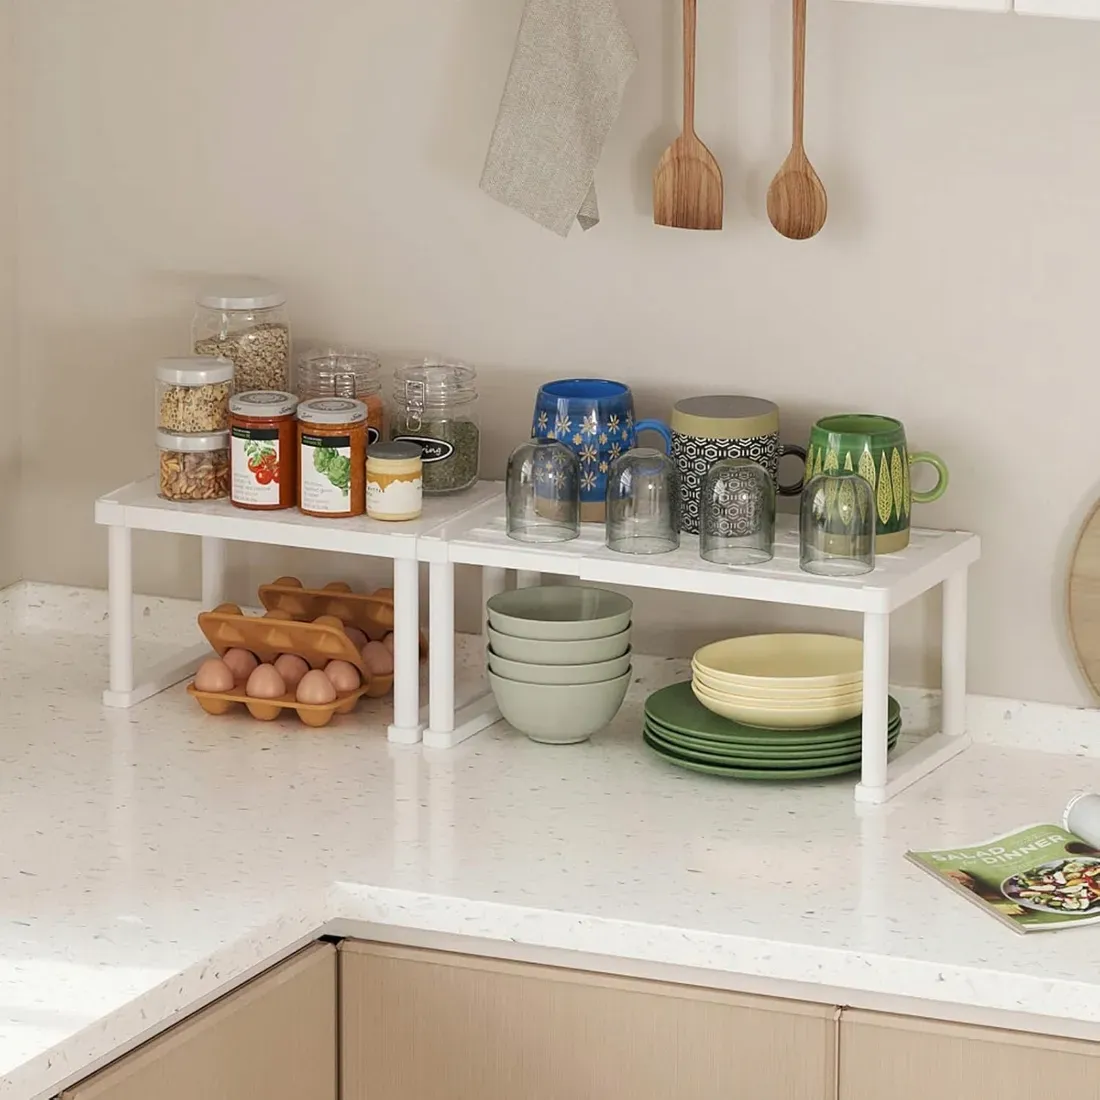
Image Credit: Erli (https://drobexwb.erli.pl/produkt/organizer-do-szafek-kuchennych-regulowany-29-40cm-polka-na-przyprawy,347069823)
Do:
- Use it for light daily items like mugs, bowls and spice jars.
- Match the riser width to the cabinet above so the setup looks planned.
- Keep heavy items like cast iron off the top level entirely.
Don’t:
- Stack it so high that you reach above shoulder height for hot items.
- Mix cleaning products with food items on the same riser.
- Let it become a permanent landing strip for mail and packages.
A simple riser shelf, usually about six inches tall, doubles the stretch of counter below the upper cabinets, giving mugs and bowls a second storey while the surface below stays clear for chopping. The kitchen gains storage without a single screw or renovation.
Hanging Rail With Hooks
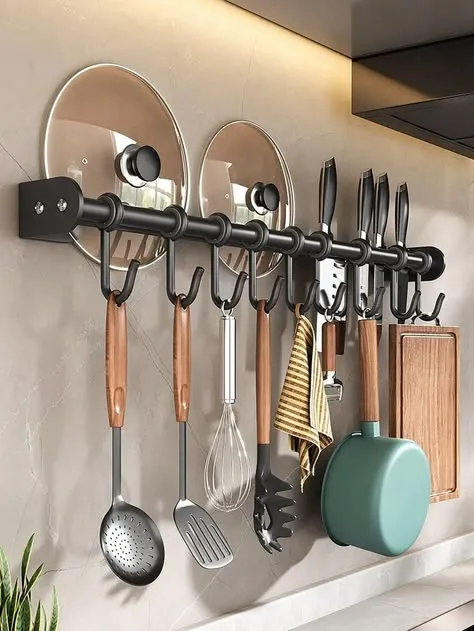
Image Credit: Pinterest (https://www.pinterest.de/pin/4598175343443669376/)
Cost: Low, a rail and a pack of hooks cost very little at hardware stores
Time: About 30 minutes to measure, level and mount on the backsplash wall
Skill Level: Beginner friendly, basic drill work only
Best For: Renters with landlord permission, and cooks who want tools off the counter
A hanging rail with S hooks lifts ladles, measuring cups, scissors and small pans off the surface and onto the backsplash wall, where they hang in plain sight. Cooking tools stay within arm reach, and the counter below them stays completely clear for prep bowls.
Cookbook Stand Holder

Image Credit: Moss and Twine (https://mossandtwine.com/blog/diy-wood-gifts-for-mom-ideas/)
A cookbook stand holds your recipe upright at reading angle, tucked back against the backsplash where it uses barely any depth. Pages stay clean, the screen stays visible while your hands are busy, and no prep space is lost to a book flopped flat.
Choose a stand with a lip at least an inch deep, enough for thick books, and a ledge that wipes clean after floury sessions. When dinner is done, many stands fold flat or hold a single slim book as a tidy display. One small stand ends the nightly game of propping books against the fruit bowl.
Oil And Vinegar Caddy

Image Credit: Home and Deco (https://www.homeanddeco.com/us/en/product/kitchenware/tools-and-utensils/utensils/peugot/paris-wooden-adjustable-pepper-mill/900494806.html)
- Choose a caddy with a handle, sized for your three or four daily bottles.
- Line the base with a washable liner to catch drips before they spread.
- Keep it beside the stove, far enough from burners to stay cool and safe.
- Return every bottle to the caddy after cooking, never to a random counter spot.
- Wash it weekly, because oil drips turn sticky and attract dust.
An oil and vinegar caddy corrals bottles that would wander the counter one at a time into one movable group, so wiping the counter means lifting a single handle instead of five greasy bottles. Everything for the pan sits together, ready to carry.
Sink Soap Tray Setup
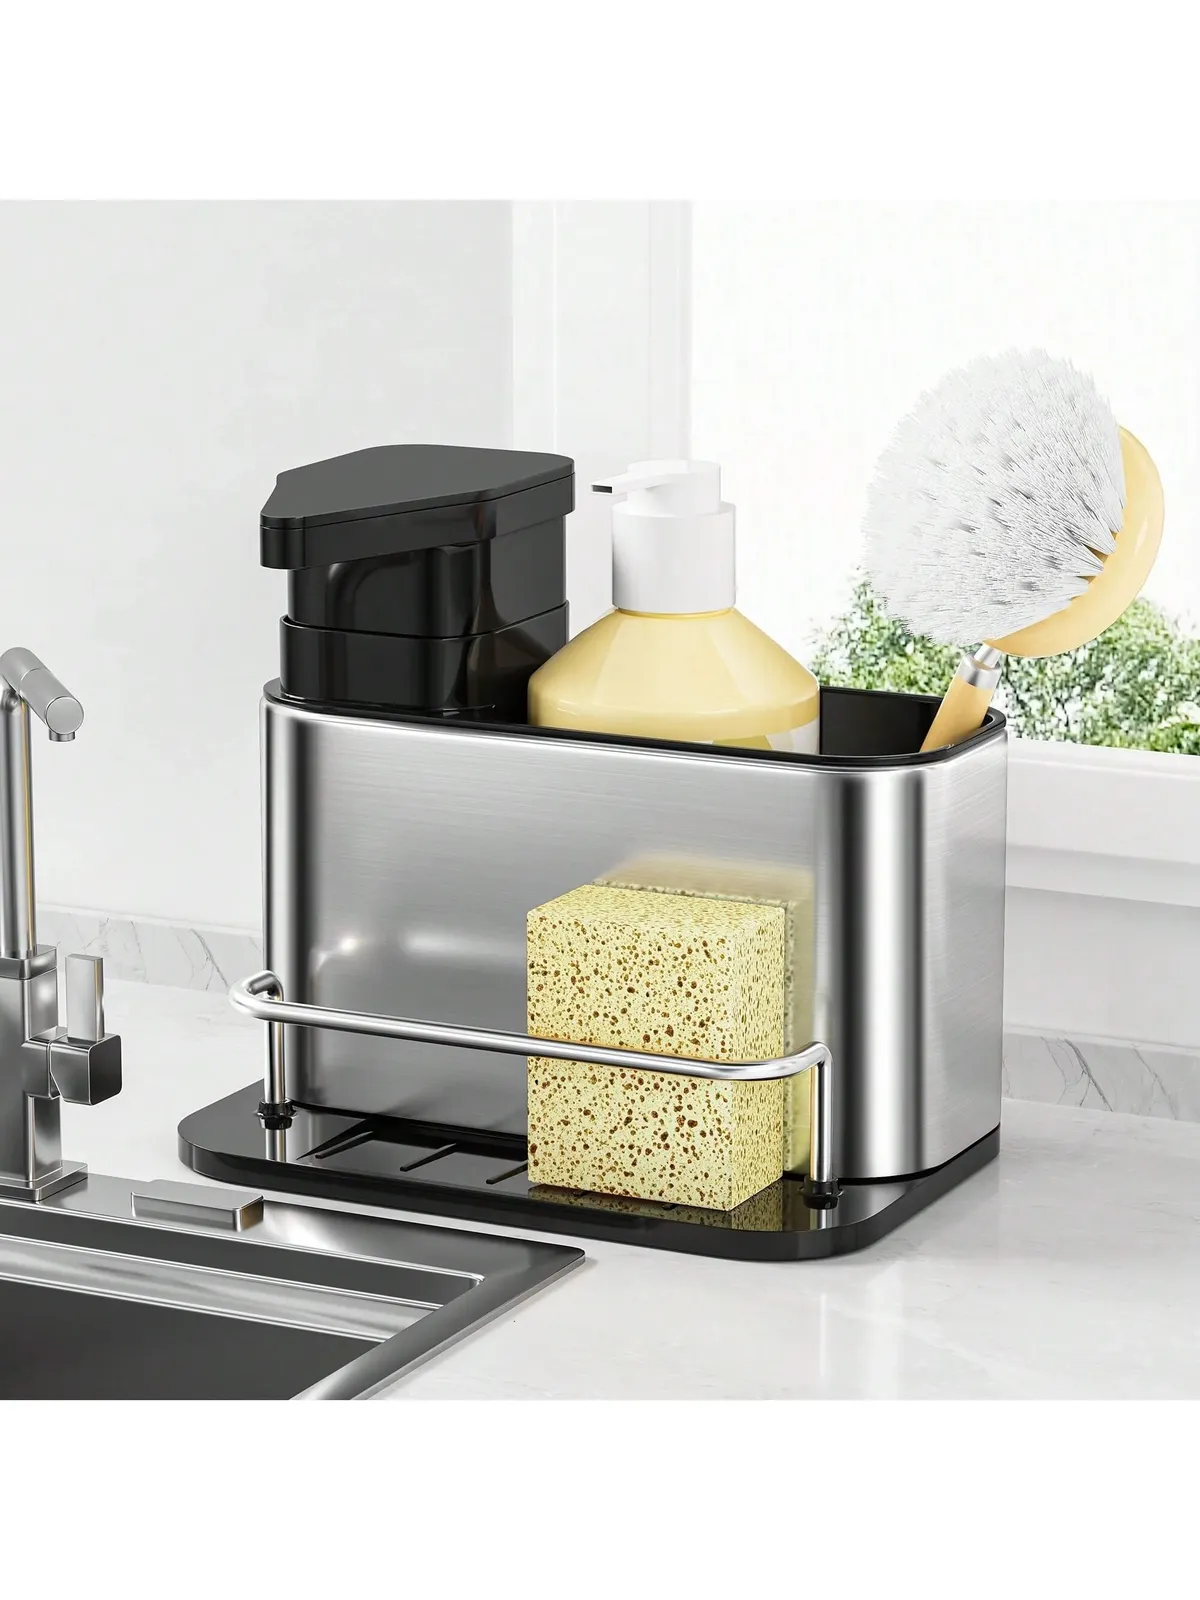
Image Credit: Loyabi (https://loyabi.com/products/1pc-stainless-steel-dish-soap-dispenser-with-sponge-holder-3-in-13-in-1-sponge-holder-for-kitchen-sink-caddy-bathroom-essential-with-removable-water-leakage-tray)
Quick Tip:
Choose a tray with small raised feet or a sloped drain design, so water runs off into the sink instead of pooling under the soap and turning the counter edge dark.
One slim tray, about nine inches long, under the soap, sponges and brushes catches the drips and draws a tidy border around the washing up zone. Bottles stand in a row, the sponge gets its own end, and the counter around the tap finally stays dry.
Charging Dock Corner
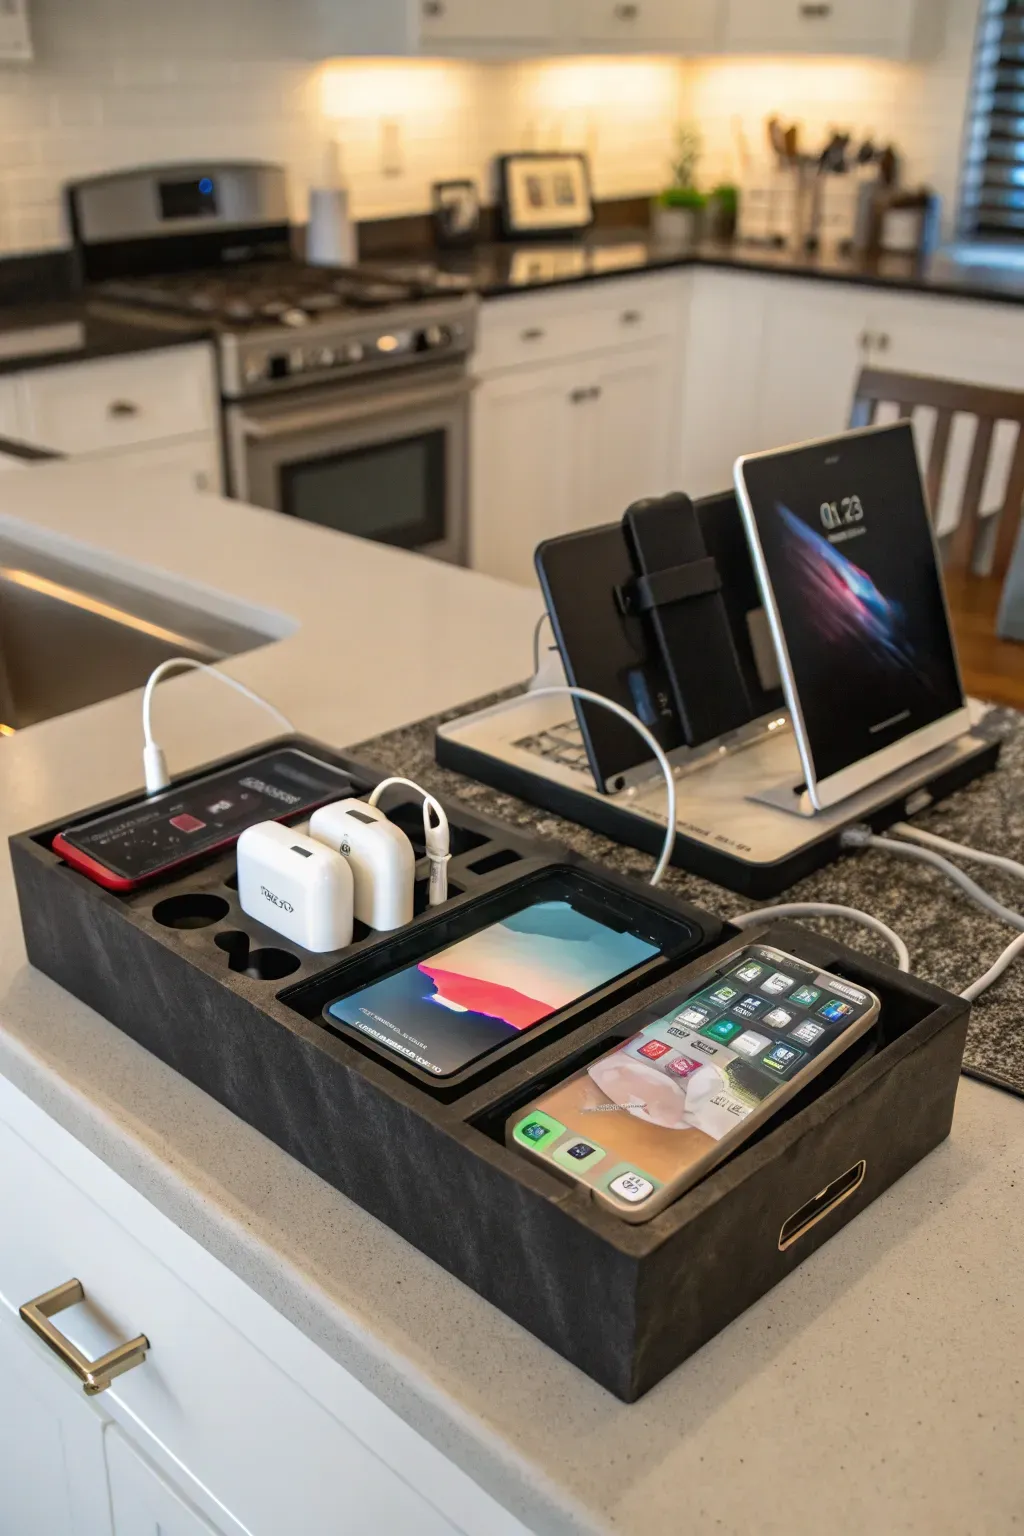
Image Credit: Modern and Mellow (https://modernandmellow.com/blog/office-in-kitchen/)
Before: Phones and tablets charged wherever an outlet allowed, cords snaking across the counter and devices sitting in the splash zone beside the sink.
After: One small dock at the far counter corner charges everything in a row, cords tucked behind it, screens well away from water and chopping boards.
A single charging dock at the counter’s far end keeps family phones and recipe tablets charged without spreading cables across your prep space. Pick the corner farthest from the sink, and the whole tangle shrinks to one short plug.
Key And Wallet Bowl
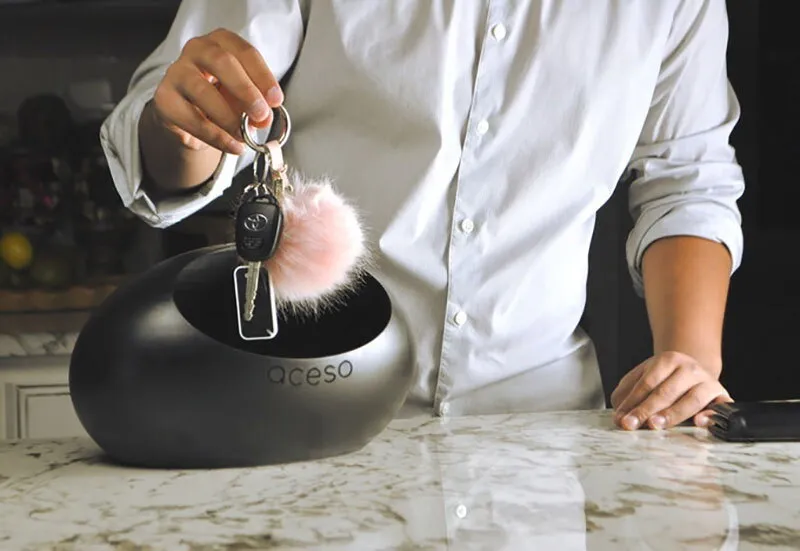
Image Credit: New Atlas (https://assets.newatlas.com/dims4/default/8aa76e2/2147483647/strip/false/crop/800×551+0+0/resize/800×551!/quality/90/?url=https%3A%2F%2Fnewatlas-brightspot.s3.ap-southeast-2.amazonaws.com%2F9c%2Fe5%2F91f751464fcc98aa5b297250ef36%2Faceso1.jpg)
- Pick one medium bowl or shallow tray with raised edges.
- Set it on the counter nearest the door your family actually uses.
- Drop keys, wallets and sunglasses there the moment you walk in, every single time.
- Empty loose change, receipts and pocket bits from it every Sunday.
- Keep the bowl small on purpose, so it can never grow into a junk drawer.
One bowl at the counter end nearest the door catches keys, wallets and sunglasses in a single spot instead of letting them land on the nearest flat surface. Mornings run smoother when keys always sleep in the same place, visible and ready.
Daily Reset Basket
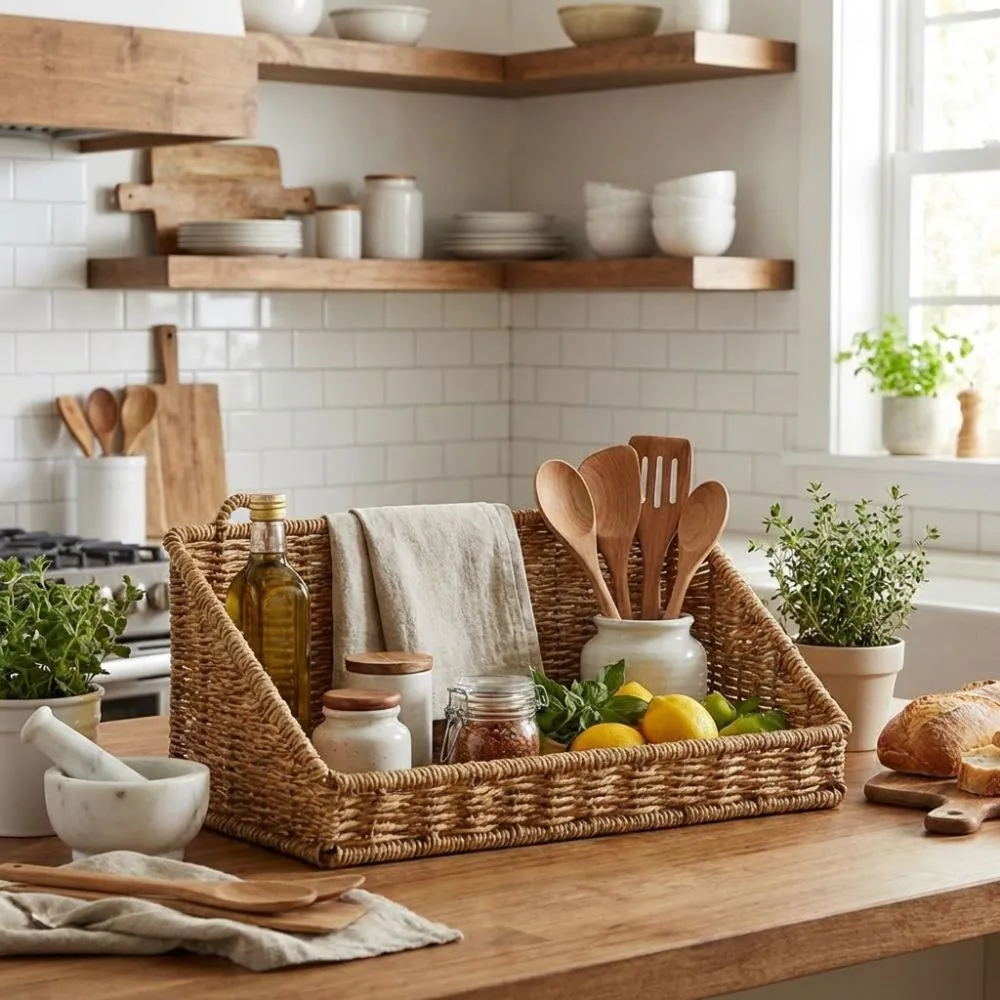
Image Credit: Shopee (https://shopee.co.th/product/455322443/54507872745)
Do:
- Walk the counter nightly and drop every homeless item into the basket.
- Carry it room to room, returning items to their real homes in minutes.
- Keep it small, so the job never feels like a big chore.
Don’t:
- Let the basket live on the counter all day as a second junk spot.
- Skip the reset on busy days, because two days of drift doubles the pile.
- Put food or clean dishes into the basket during the sweep.
A nightly two minute basket reset reverses the drift counters pick up one homeless item at a time, clearing the surface before it piles up. I’ve noticed families keep this habit longest when the basket is pretty enough to leave in sight.
Mug Tree Stand
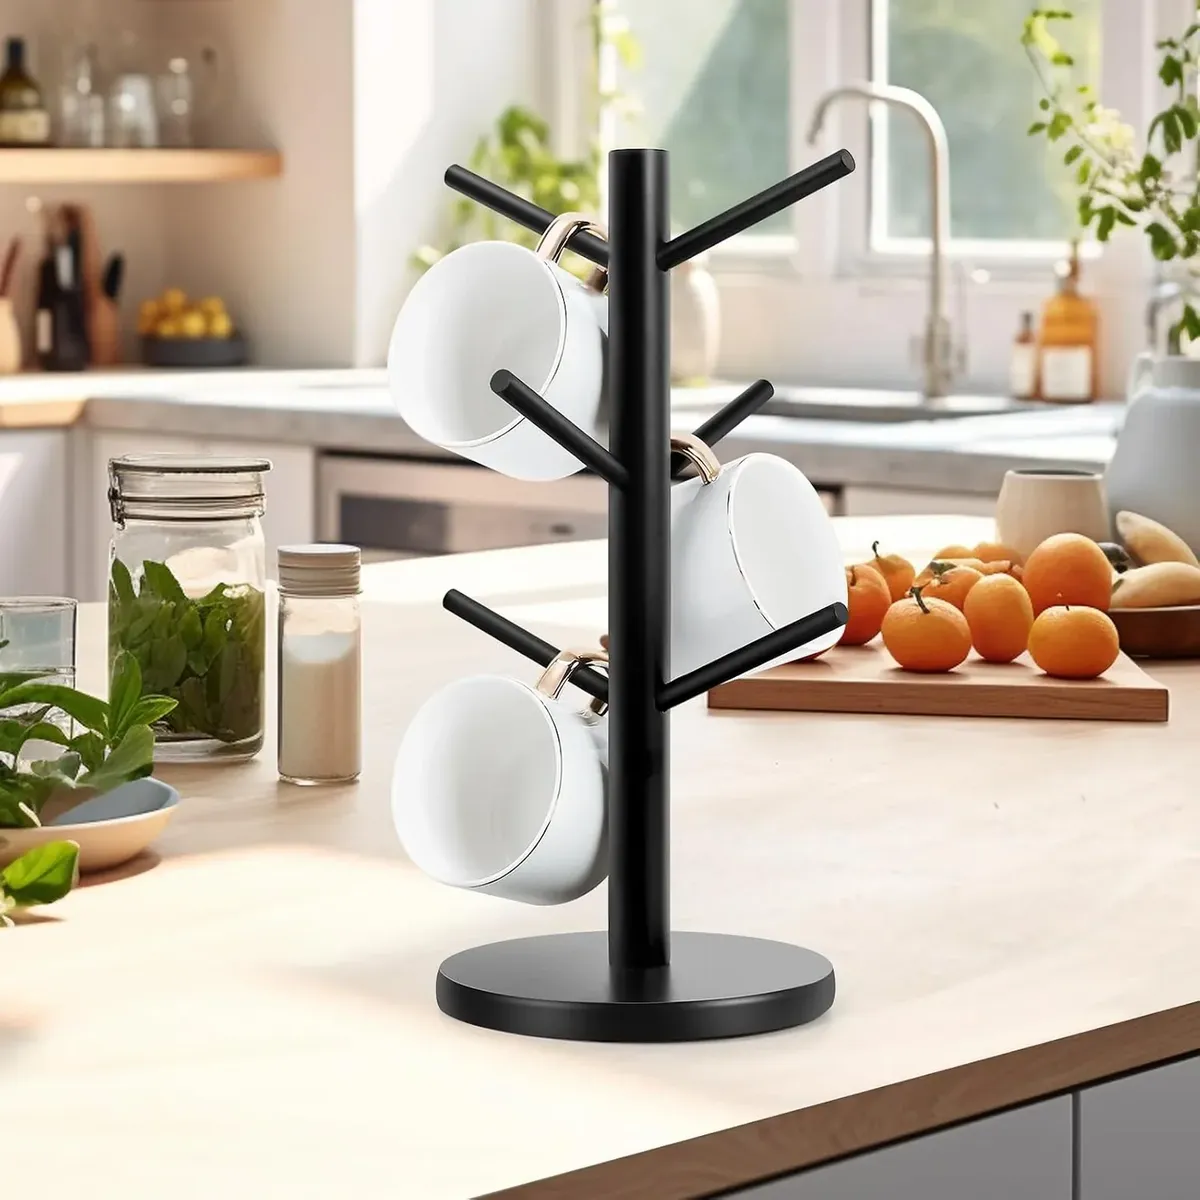
Image Credit: Vexroan (https://vexroan.com/products/tree-shaped-wooden-mug-holder-round-base)
Cost: Low, simple wood or metal mug trees are budget friendly
Time: About 5 minutes to set up and load
Skill Level: Beginner, no assembly beyond a few screws on some models
Best For: Coffee and tea drinkers whose mugs crowd a whole cabinet shelf
A mug tree stacks six or eight mugs on the footprint of one, standing them in a neat column near the coffee maker. The cabinet shelf empties out, the counter spot looks deliberate, and your favorite mug always hangs in front.
Matching Canister Row
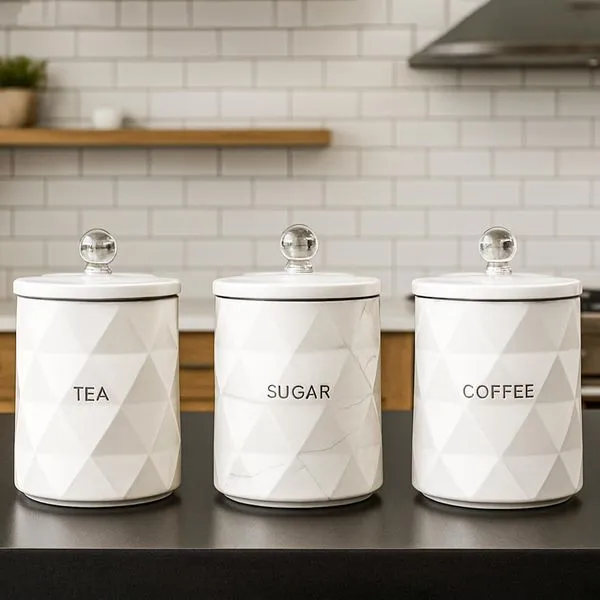
Image Credit: EveryMarket (https://img.everymarket.com/tog0ykxmb7x97wlxnkz4bzu5drgm?width=600&height=600&format=jpg)
Decanting flour, sugar and coffee into one matching set of canisters lines the daily staples up in a tidy row with lids that seal properly, instead of loose bags slumping and spilling. The row looks calm, measures easily and wipes clean in seconds.
Choose canisters sized to your real usage, with wide mouths that fit a scoop without a fight. Three or four pieces are plenty for most homes; more than that and the row itself becomes the clutter. Keep the set against the backsplash so the counter front stays open for work.
Under Cabinet Towel Holder
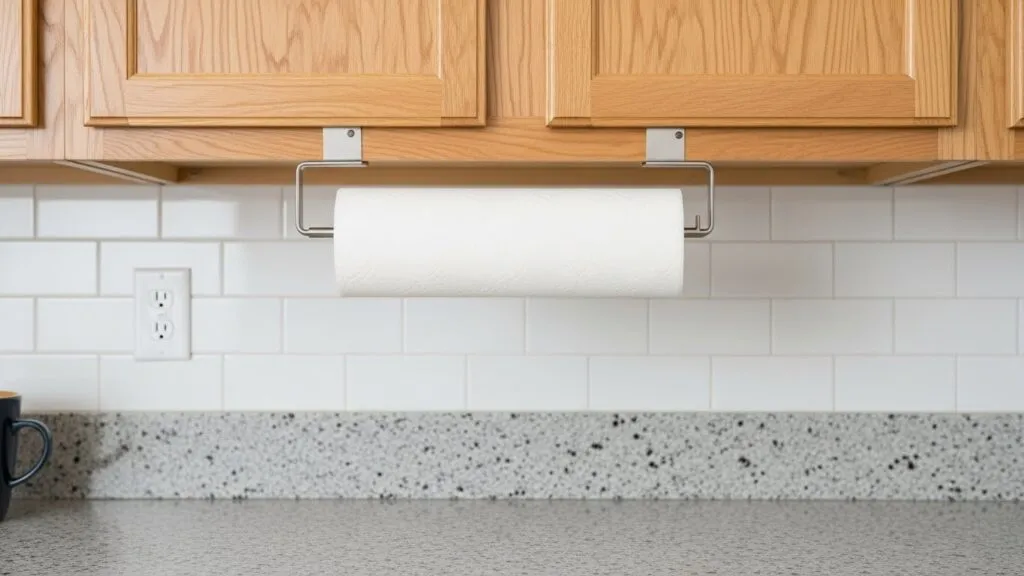
Image Credit: Kitchen Waves (https://kitchenwaves.com/tiny-kitchen-clutter-solutions/)
- Mount a paper towel holder under the cabinet, directly above your main prep spot.
- Choose a model that tears one handed, so you can grab a sheet with wet hands.
- Keep the roll clear of the backsplash so sheets pull freely without catching.
- Refill it as part of your weekly shop unpacking routine.
- Use the freed counter spot for a plant or leave it proudly empty.
An under cabinet towel holder keeps paper towels within reach while handing back the dinner plate sized patch of counter a standing holder would claim forever. It is one of the cheapest changes here, and the difference shows daily.
Everyday Grouping Tray
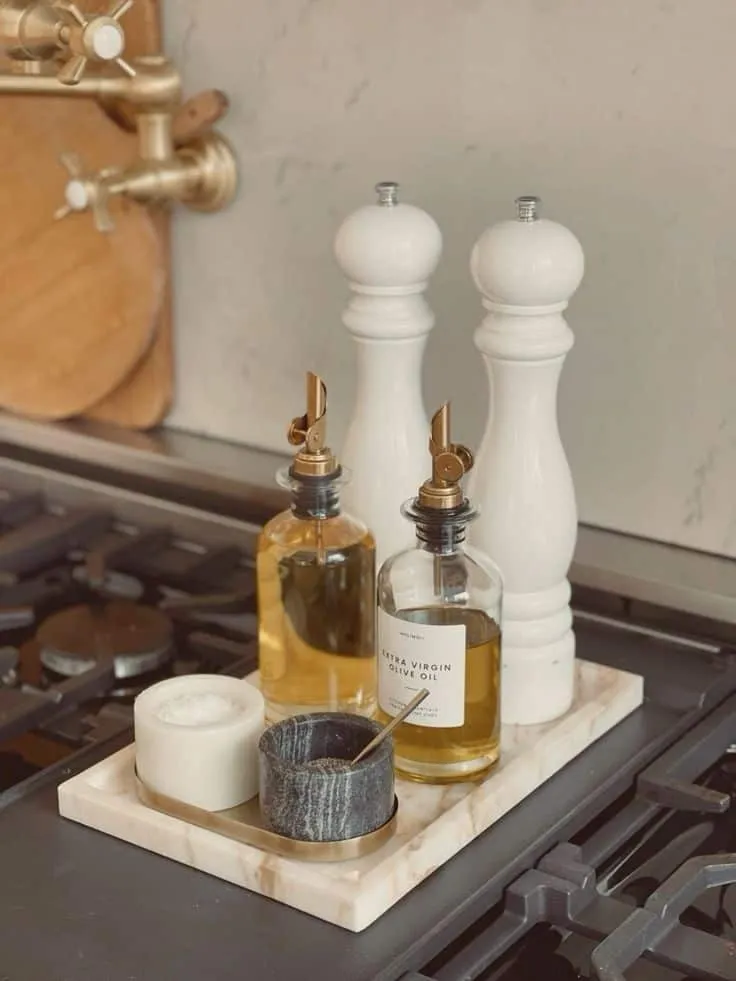
Image Credit: Lady Decluttered (https://ladydecluttered.com/30-kitchen-countertop-styling-ideas/)
Quick Tip:
Pick a tray no larger than one quarter of your counter run, and treat its edges as a hard border. When the tray is full, something must leave before anything new joins.
Setting the salt, pepper, oil and utensil pot together on one tray reads as a single styled group instead of five separate clutter items scattered across the counter. The eye sees one tidy shape, and lifting one tray clears the whole zone for a deep wipe.
Sink Bridge Caddy
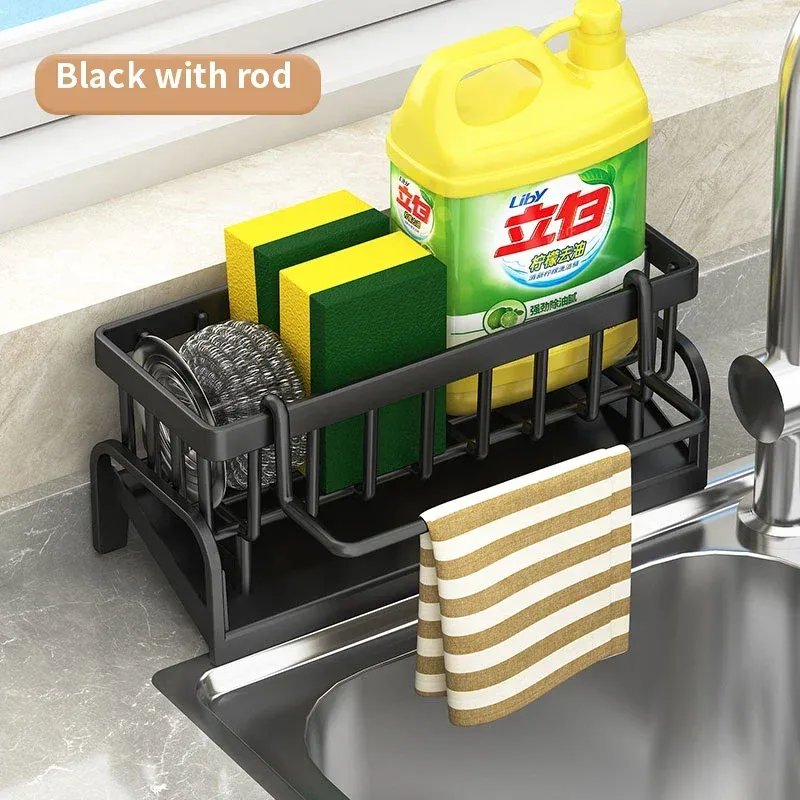
Image Credit: Homease (https://homeaseuk.myshopify.com/cdn/shop/files/Sb7cce38f251f4c10830d9540012763bcp.webp?v=1752500205&width=1024)
Before: The sponge, brush and washing up liquid crowded the narrow strip behind the tap, dripping onto the counter and sliding into the sink daily.
After: A slim caddy stretches across the back of the sink, holding the sponge and brush above the basin while bottles stand in a drained row.
A sink bridge caddy, usually 8 to 12 inches long, moves the washing up kit over the sink itself, where drips belong, instead of crowding the narrow strip behind the tap. Your tap area looks clean from across the room, and the sponge dries faster hanging over the basin instead of sitting in a puddle.
Backsplash Ledge Shelf
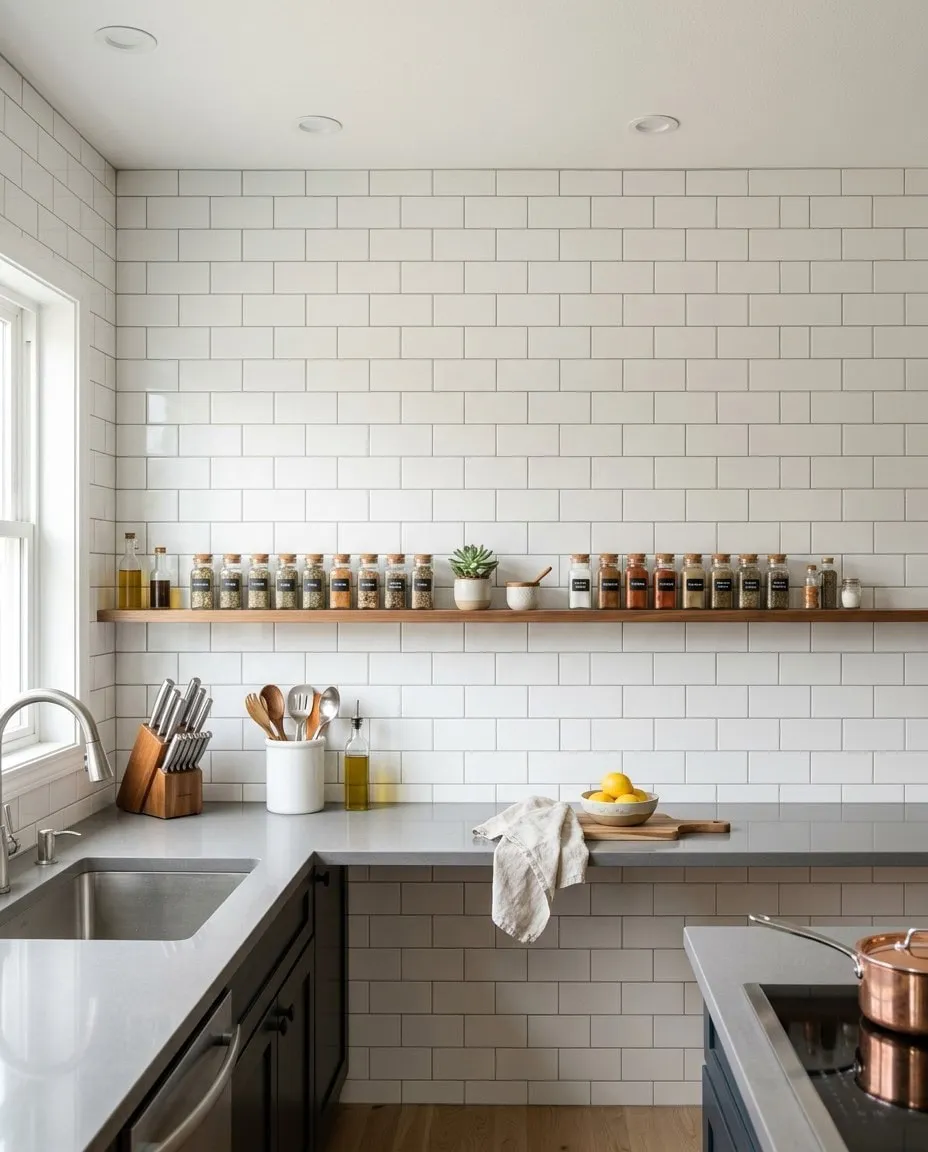
Image Credit: Kitchen Seer (https://kitchenseer.com/kitchens-no-upper-cabinets-more-storage/)
- Measure the backsplash height and choose a slim ledge that fits beneath the cabinets.
- Mount it level above the counter, or pick an adhesive model for a no drill start.
- Stock it with slim items only, like spice jars and small bottles.
- Leave the counter below it completely bare so the depth gain is real.
- Dust it weekly, since open slim shelves show kitchen grease over time.
A backsplash ledge shelf, only about 3 inches deep, lifts the small bottles and jars that form a messy front line off the counter in a strip barely deeper than the jars themselves. The counter below it becomes a clean, full depth work surface again.
Countertop Towel Stand
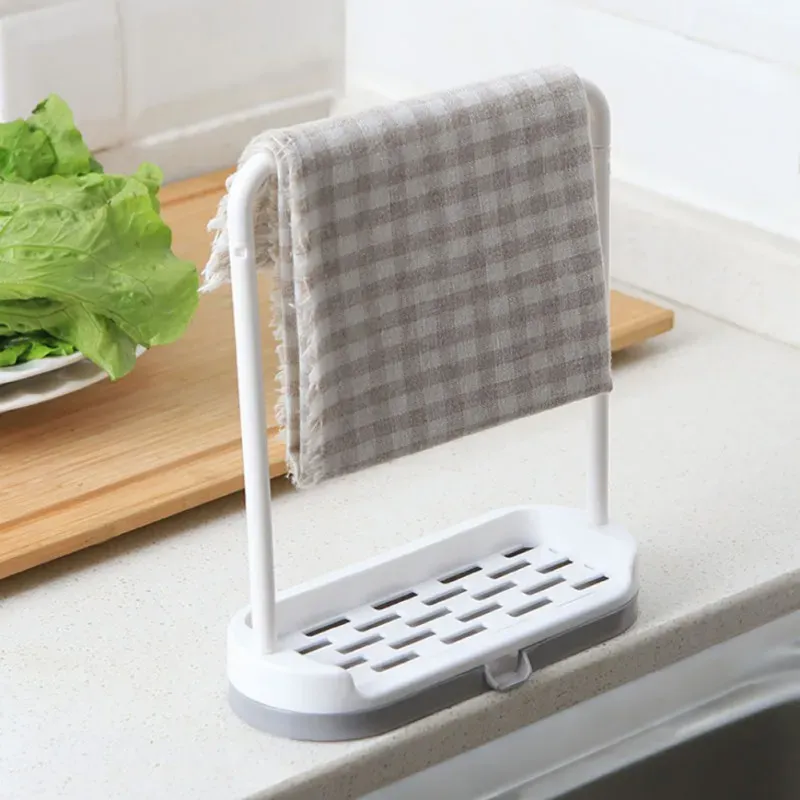
Image Credit: AliExpress (https://ae01.alicdn.com/kf/HTB1zmkHQ4TpK1RjSZFMq6zG_VXa5.jpg)
Do:
- Stand it where wet hands reach it without dripping across the counter.
- Choose a weighted base so it stays put when you pull a towel free.
- Keep one towel on it and a clean spare folded in a drawer.
Don’t:
- Hang a damp towel over the tap, where it drips onto the counter all day.
- Let it migrate into your main chopping zone over time.
- Use it for oven gloves and aprons too, until it topples.
A small countertop towel stand gives the in use towel one proper home beside the sink, instead of draping it over taps, oven handles and chair backs. It dries faster standing upright with air around it, and the counter keeps its clean lines.
Herb Pot Window Trio
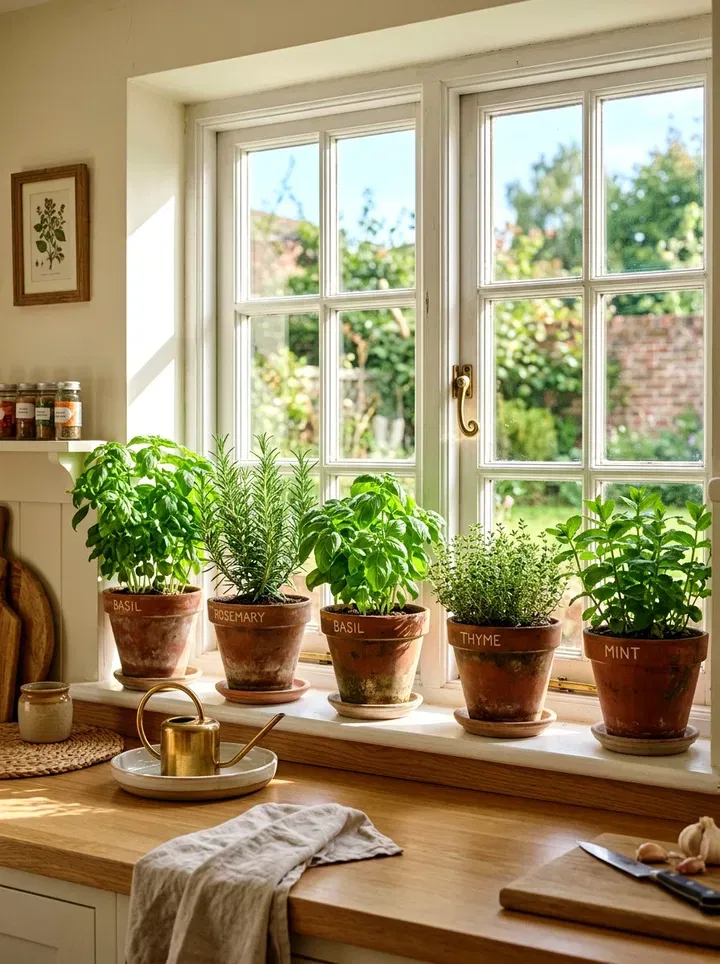
Image Credit: Plus Mood (https://plusmood.com/25-spring-cottage-decor-ideas/)
Cost: Low, three small pots and starter herbs cost very little in spring
Time: About 15 minutes to pot up and line them along the sill
Skill Level: Beginner, basic watering only
Best For: Small kitchens where counter corners need one living, useful feature
A trio of herb pots earns its counter space twice, once as fresh flavor and once as the single green feature that makes the surface look styled rather than stored on. Basil, mint and parsley cover most everyday cooking. Lined up at the window end of the counter, they mark a clear boundary where storage stops and the room breathes.
Rolling Cart Appliance Station

Image Credit: JustBid (https://www.justbid.com/item/OLARRK0057838/5103934)
A slim rolling cart parked at the counter’s end gives heavy, bulky appliances like the mixer or air fryer a station at counter height, ready to roll out for use. The counter itself keeps only what earns daily space.
Pick a cart with locking wheels and shelves tall enough for your bulkiest machine. Keep the top shelf for the appliance you use most, and let lower shelves hold its bowls, blades and attachments together. A cart also works as extra serving space when the counter fills up during big family meals. When guests arrive, the whole station rolls out of sight in seconds.
Countertop Compost Caddy
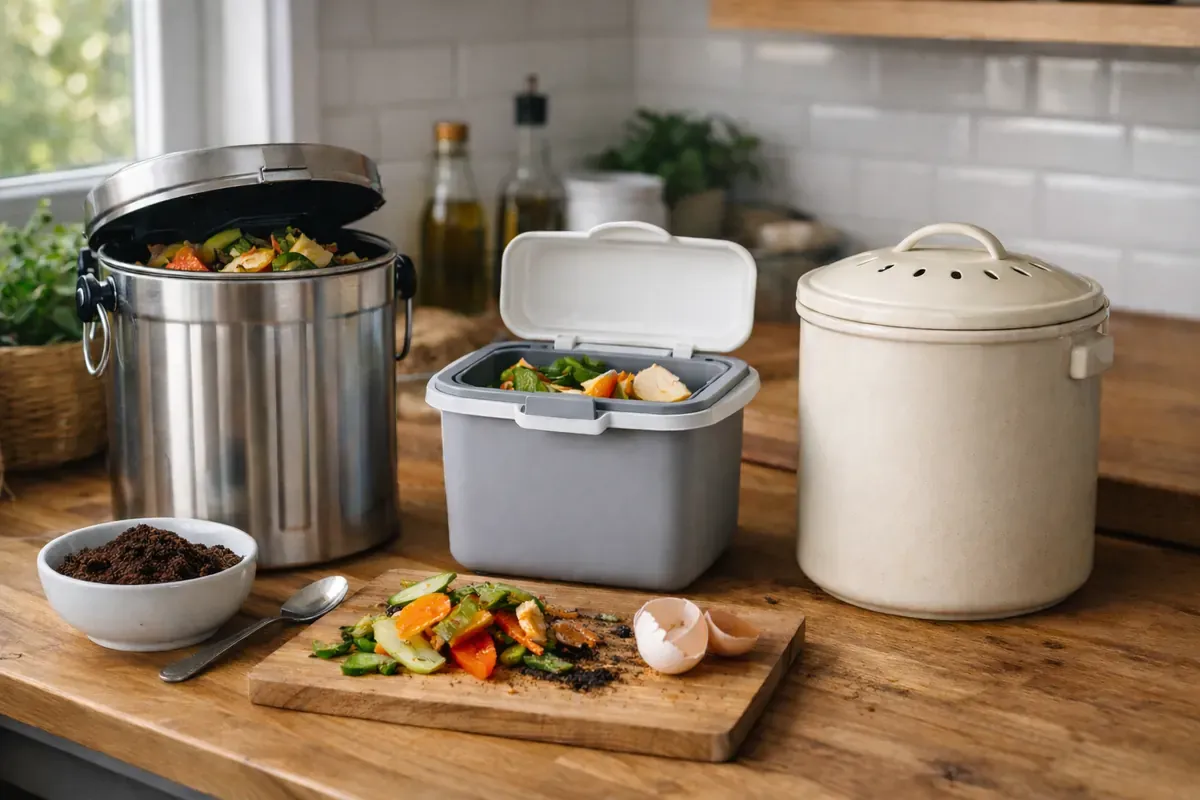
Image Credit: Compost Magazine (https://www.compostmagazine.com/best-kitchen-compost-bin/)
- Choose a small caddy with a tight lid and a handle, sized for one day of scraps.
- Line it with a compostable bag so emptying takes seconds and washing stays rare.
- Set it beside the chopping zone, where peelings land during prep.
- Empty it into the outdoor bin every evening after dinner.
- Wash and dry it weekly so it never starts to smell.
A small lidded compost caddy on the counter catches peelings and coffee grounds at the exact moment you make them, instead of letting scraps pile up on the board mid recipe. Prep stays cleaner, the board stays clear, and trips to the main bin drop to one quick visit after cooking.
Common Questions
What should stay on kitchen counters permanently?
Keep out only what you use every day: the coffee maker, a utensil crock, and one tray grouping oil, salt and pepper. Everything used less than daily earns a cabinet, drawer or garage spot instead.
How do I keep counters clear in a very small kitchen?
Use the walls first. Rails, magnetic strips and ledge shelves lift tools and jars off the surface, while a turntable or riser doubles the depth you already have. One tray per zone stops small items from spreading again.
Where should mail and keys go if not the counter?
Give them one small landing spot at the entry end: a shallow tray for paper and a bowl for keys and wallets. Sort mail over the tray as you walk in, recycle junk immediately, and clear both spots weekly.
How long does it take to declutter a counter properly?
Most single ideas here take under an hour, and a full counter reset takes about 30 minutes: empty the surface, clean it, then return only the few stations you planned. A two minute nightly sweep keeps it clear.
Conclusion
Clear counters are not about owning less or cleaning more; they come from giving every object one planned home. These kitchen counter clutter solutions work because each one matches a real habit, from the morning coffee tray to the evening reset basket. Start with the single idea that tackles your worst corner, live with it for a week, then add the next. Save this list to your Pinterest board so the ideas stay handy, try one this weekend, and share it with a friend whose counters could use the same breathing room.



One Comment